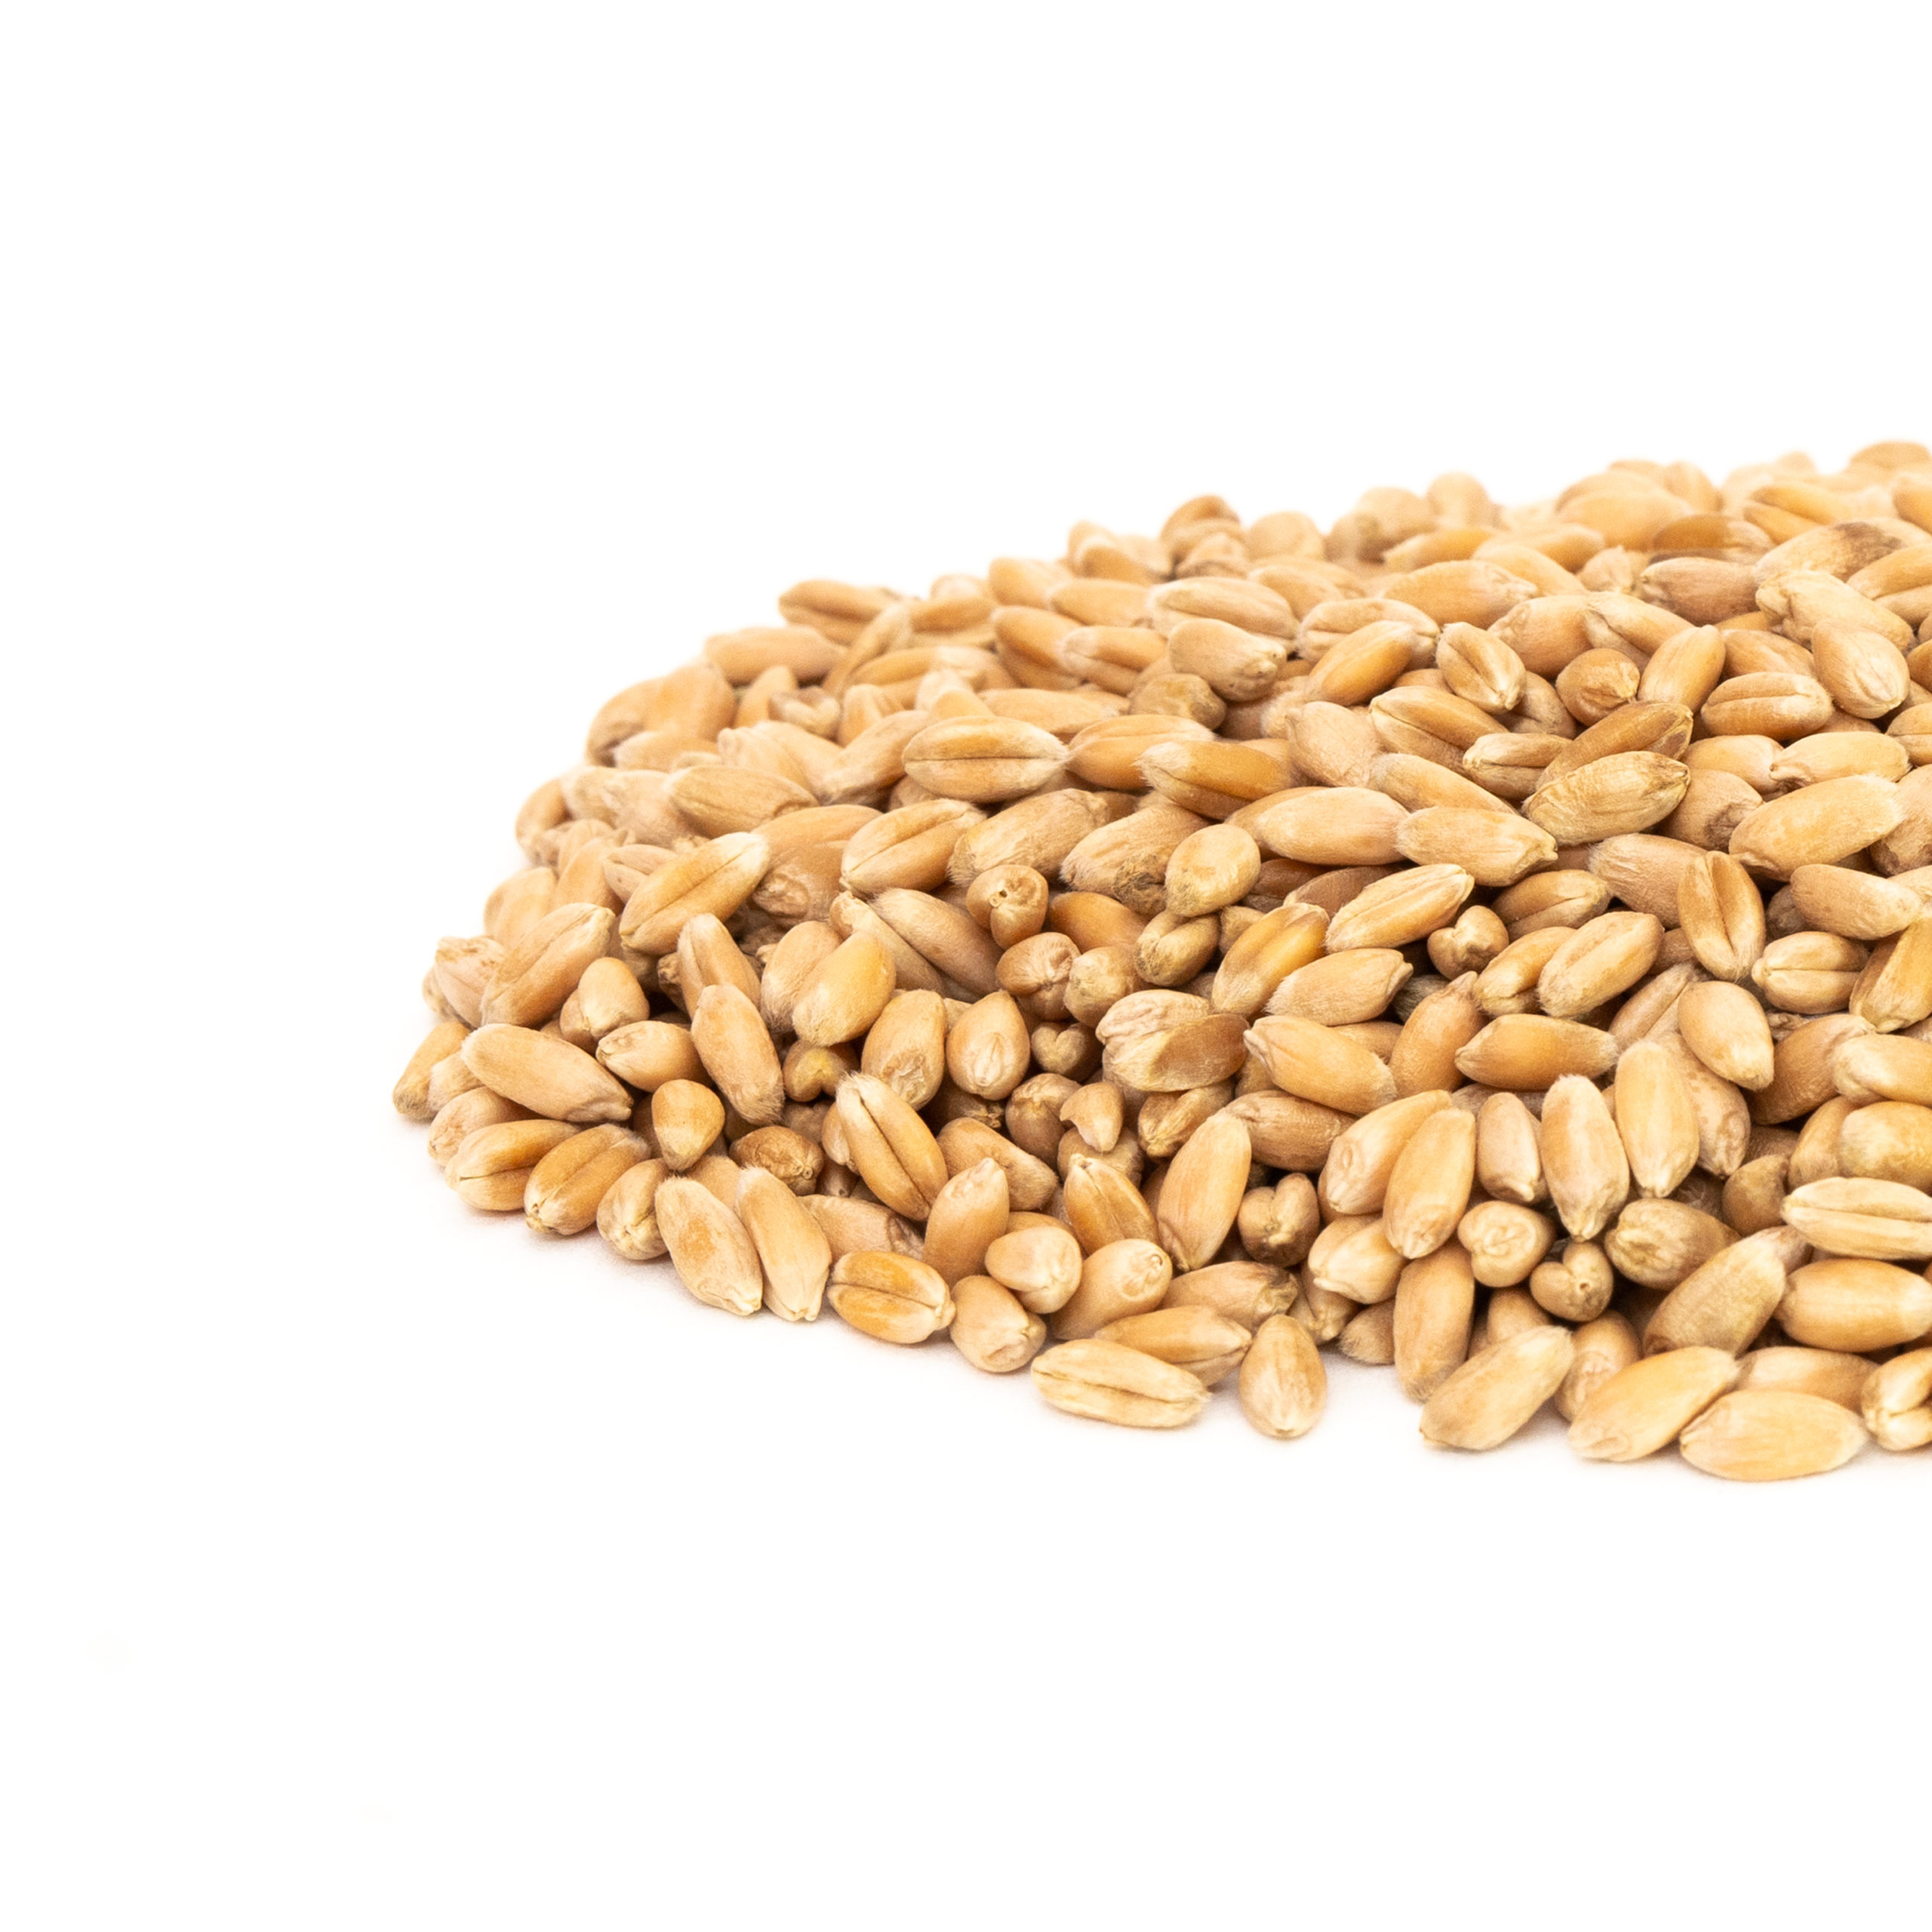
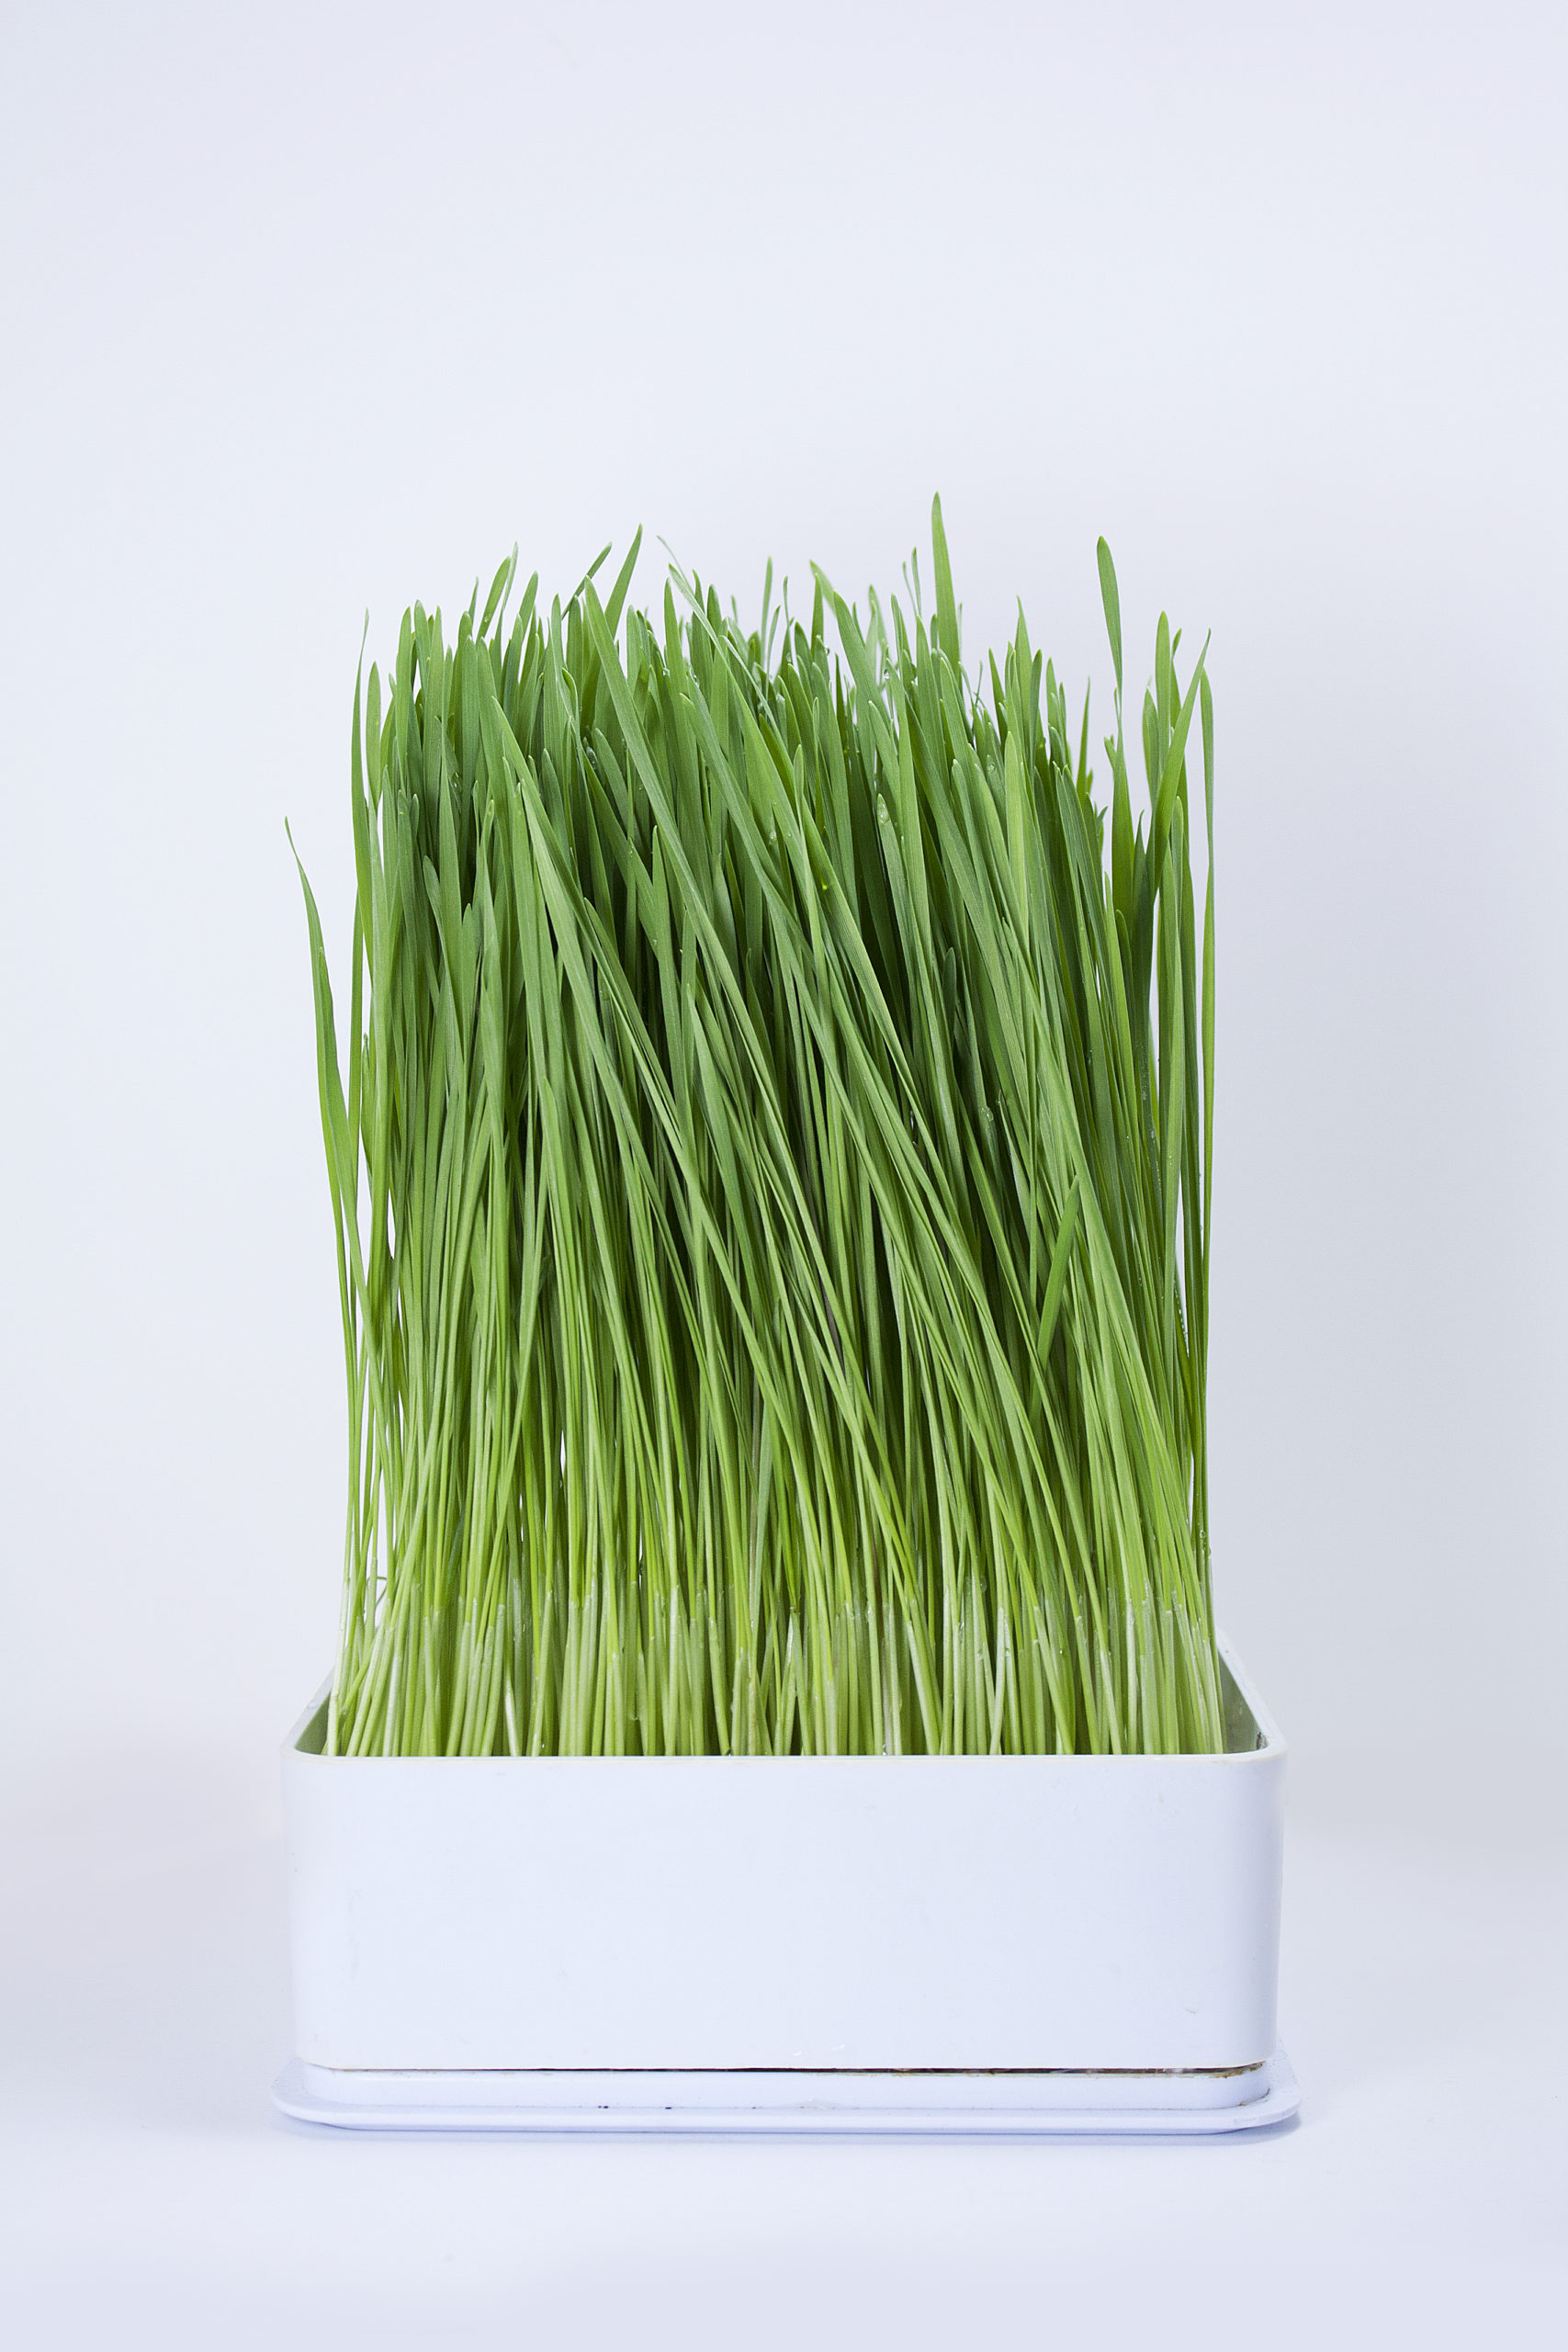
We love wheatgrass! Use for wheatgrass, sprouted wheat bread, milling, or short sprouts.
Winter wheat grows a slightly shorter and darker green grass with a wider blade than spring wheat. It is also somewhat less sweet.
- Days to Sprout: Sprout 2-3. Grass 8 – 10
- Soak Time: 4-8 hours
- Yield: Yield- sprouts 1/2 cup of dry seed yields 2 cups of sprouted wheat. Yield- grass 1 lb. is approx. 2.5 cups of wheat seed 1.5 cups wheat (approx.) for one 11 x 21 tray of grass 0.5 cups wheat (approx.) for large SproutMaster (10 x 8) of grass Sproutmaster yields approx. 2-6 oz. of juice (depends on height of grass, juicer used, density of grass)
- Storage: Our seeds should sprout well for a year after you purchase them, if stored in a cool dry place. If you’d like to extend the germination life of your seeds, store them in the fridge. If you store your seeds in the freezer, they’ll last even longer!
Grow Wheatgrass!
You will need:
- 10” x 20” gardening trays (1-inch-tall preferred), 1 with holes + 1 without. Smaller microgreen trays also work well
- Good quality organic starting soil mix
- Parchment paper or unbleached paper towel,
- Dome lids (clear or black) or plastic sheet
- Organic seed
- Mister bottle, cup measures, garden spray nozzle (optional)
- Scissors or sharp knife
- Soak the Seed
Larger seed such as sunflower, buckwheat, microgreen salad mix, wheat and peas should be washed then soaked in water for 6 – 12 hours prior to seeding. Drain, rinse and drain the seed after soaking.
- Prepare Soil
Add water to top of the bag (or each tray) 12 hours ahead of use until almost fully hydrated. Rehydrate the bag as necessary. If you were to put the soil in your hand and squeeze it, you should not be able to get much more than a drop of water out of it for the perfect moisture content. If you want to mist the seed after putting it on the soil, reduce the water hydration of the bagged soil a bit.
TIP: To check for overwatering, tip the tray to one end. Water should not pool enough to drip out of the tray.
- Fill Trays with Soil
Use a tray with holes. Fill with 3/4-1.5” of soil. The closer to the top of the tray the better aid to air circulation. Use a block or your hand to smooth and flatten the soil without compacting it. The back of a tablespoon or spatula smooths out the valleys. You can wait to put the tray without holes under until after unstacking/uncovering or add it to the bottom now.
TIP: Place a layer or two of paper towel on the bottom of the tray before adding soil for easier cleanup.
- Sow the Seed
Spread the soaked seed evenly over the soil in the tray. The seeding density depends on the stage at which you’re planning to harvest. You should have one layer of seeds, side by side and mostly not overlapping. Spread out any clumps with a spoon or your hands. Sow slightly less seed for 2-3 week microgreens.
- Cover the Seed
Doing away with soil as a seed cover decreases the work and time it takes to grow the greens. If stacking the trays on top of each other, use a cover directly on the seed like parchment paper, a plastic sheet or wet unbleached paper towel layer. When not stacking trays, the seed will need protection from drying out by using a dome/lid. Use a clear dome or an inverted 10 x 20” tray without holes. For smaller trays, use several layers of unbleached paper towels folded onto itself with or without a plastic sheet covering the top.
TIP: Most microgreens will grow taller when you keep the light out at the beginning, but this may make the stem weaker. Most seeds germinate in the light no problem.
- Stack Trays
Stacking helps to quickly force the roots into the soil, provides darkness, promotes even germination/growth. Stack 2-5 filled trays on top of each other with an empty tray on the top of the stack with a weight in it. Check at least once a day to see if the trays need water. Stack for 3-5 days. Sunflowers stay stacked the longest -5 days. Put no holes trays under the soil filled holed trays.
- Expose to Indirect Sunlight, Florescent/LED or Grow Lights.
After 2-5 days, the microgreens should be ready for light. If the microgreens begin to get quite tall and leggy, this is an indication that they may need a bit more light.
- Water the Growing Microgreens
Check the seed once or twice daily and water as needed. The soil should be moist, not wet. Once trays are unstacked, add water from below into the no holes tray as necessary.
- Harvest!
Sunflowers, buckwheat, and wheat grass is usually harvested around 9 to 10 days with scissors or a sharp knife. Make sure microgreens are not damp before storing. If needed, you may use a small fan or salad spinner to dry the microgreens before storing in a sealed container in the fridge.
- Enjoy!
Helpful tips:
- To moisten your bag of soil, add water ahead until almost fully hydrated.
- The roots grow under the soil so it works well to water from below if the tray has holes in it, or open the side of the tray and pour water beside the soil when using flexible plastic trays. Otherwise misting or watering from the top works well too.
- Good cleaning practices each growing cycle: Remove debris from trays. Apply soap to a brush and clean all surfaces with suds and firm pressure. Rinse. Sanitize your trays, equipment, tools and surfaces
Grow Wheatgrass!
Soilless Method
Soak. Using a tray with drainage holes, rinse enough seed to cover the bottom of the tray. Soak the seed for 4-12 hours. Use a jar with a sprouting lid for soaking if the tray holes are too large. Drain, rinse and drain holding at an angle to remove excess water. Spread the seed evenly on the bottom of the tray and cover with a lid top and bottom or put in plastic bag.
Rinse. Rinse with cold water twice a day, using either a gentle flow from a tap, dipping in a sink, or spraying. Drain thoroughly.
Grow. The roots will form a mat from which the microgreens will emerge. At that point, put in indirect sunlight, florescent/LED lights or grow lights. The watering is then easy: fill the container 1 cm deep with water and allow to sit for a few seconds in the water and then tilt on an angle to decant the water until only some moisture is remaining in the root area. Continue to rinse twice a day as described above.
Harvest!
Typically, wheatgrass grown without soil is harvested at 7-10 days. Harvest grass using scissors or knife.
Enjoy!
"Some Benefits of Grass Substantiated by Research: Repairs DNA Enhances Immunity Stops Free-Radicals Inhibits Carcinogens Increases Longevity Helps Skin Disease Reduces Cholesterol Prevents Inflammation Promotes Cellular Rejuvenation Enhances Stamina & Endurance Neutralizes Pesticides Provides Antioxidants" Source: Wheatgrass: Nature's Finest Medicine, Steve Meyerowitz, Rev. Ed. 2006, p. 60.


blueish7 –
I’ve been using Mumm’s wheat seeds for growing wheat grass for some years. never had an issue. my only observation is that being imported from US are they really what they say they are (non GMO)?
D_Blue –
I’ve ordered couple of times the wheat and I alternated winter berries with spring. Although the spring ones grow faster I like the winter better as they have a milder taste.
Celeste –
Good
Waterrat –
Have ordered a few times without issue. Winter wheat sprouts and grows well, great taste. Highly recommend.
Pascal –
Très haut taux de germination, donne un excellent jus
Dr. Serge –
Using it to make wonderful juice.
Finally we found high quality seeds – and for good price. Free delivery a nice bonus!
Already recommended this company and this product to our relatives and friends.
Thank you very much.
AA –
I have bought wheat grass from different sources in the oast. I can say that this is the best I have had. Finally good tasting wheatgrass!
Vlad –
We were purchasing Mumm’s product for many years and will do it in future.Exellent product and free delivery over $25 purchase -very attractive offer!
Sylvie –
Les grains s’enracinent très bien au terreau biologique que j’ai utilisé. L’herbe était d’un beau vert tendre et son goût riche et concentré, tel que je m’y attendais. Cela vaut l’expérience!
Anna –
I’d been using Winter Wheat from other companies for years to sprout for Rejuvelac, and am very pleased with Mumm’s seeds. Excellent sprouter with 98% germination rate. No other brand has ever come close to this. You’ve earned a repeat customer.
Vlad –
Excellent grain for sprouted juice
Wheatgrass fan –
I have been using these seeds for over 2 years now.
Joanne –
Winter wheat to juice. Very good product. I had an issue with Canada Post and the company was excellent fixing the problem.
S.Selley –
I had a very hard time finding quality wheatgrass seeds and am THRILLED to have found mumm’s!
This grass makes for beautiful juicing.
Lou Stojanov –
I have been ordering for a long time now and always delivered a great product. I grow wheat grass and also germinate and boil them.