Our current Daikon Radish lot contains traces of Wheat.
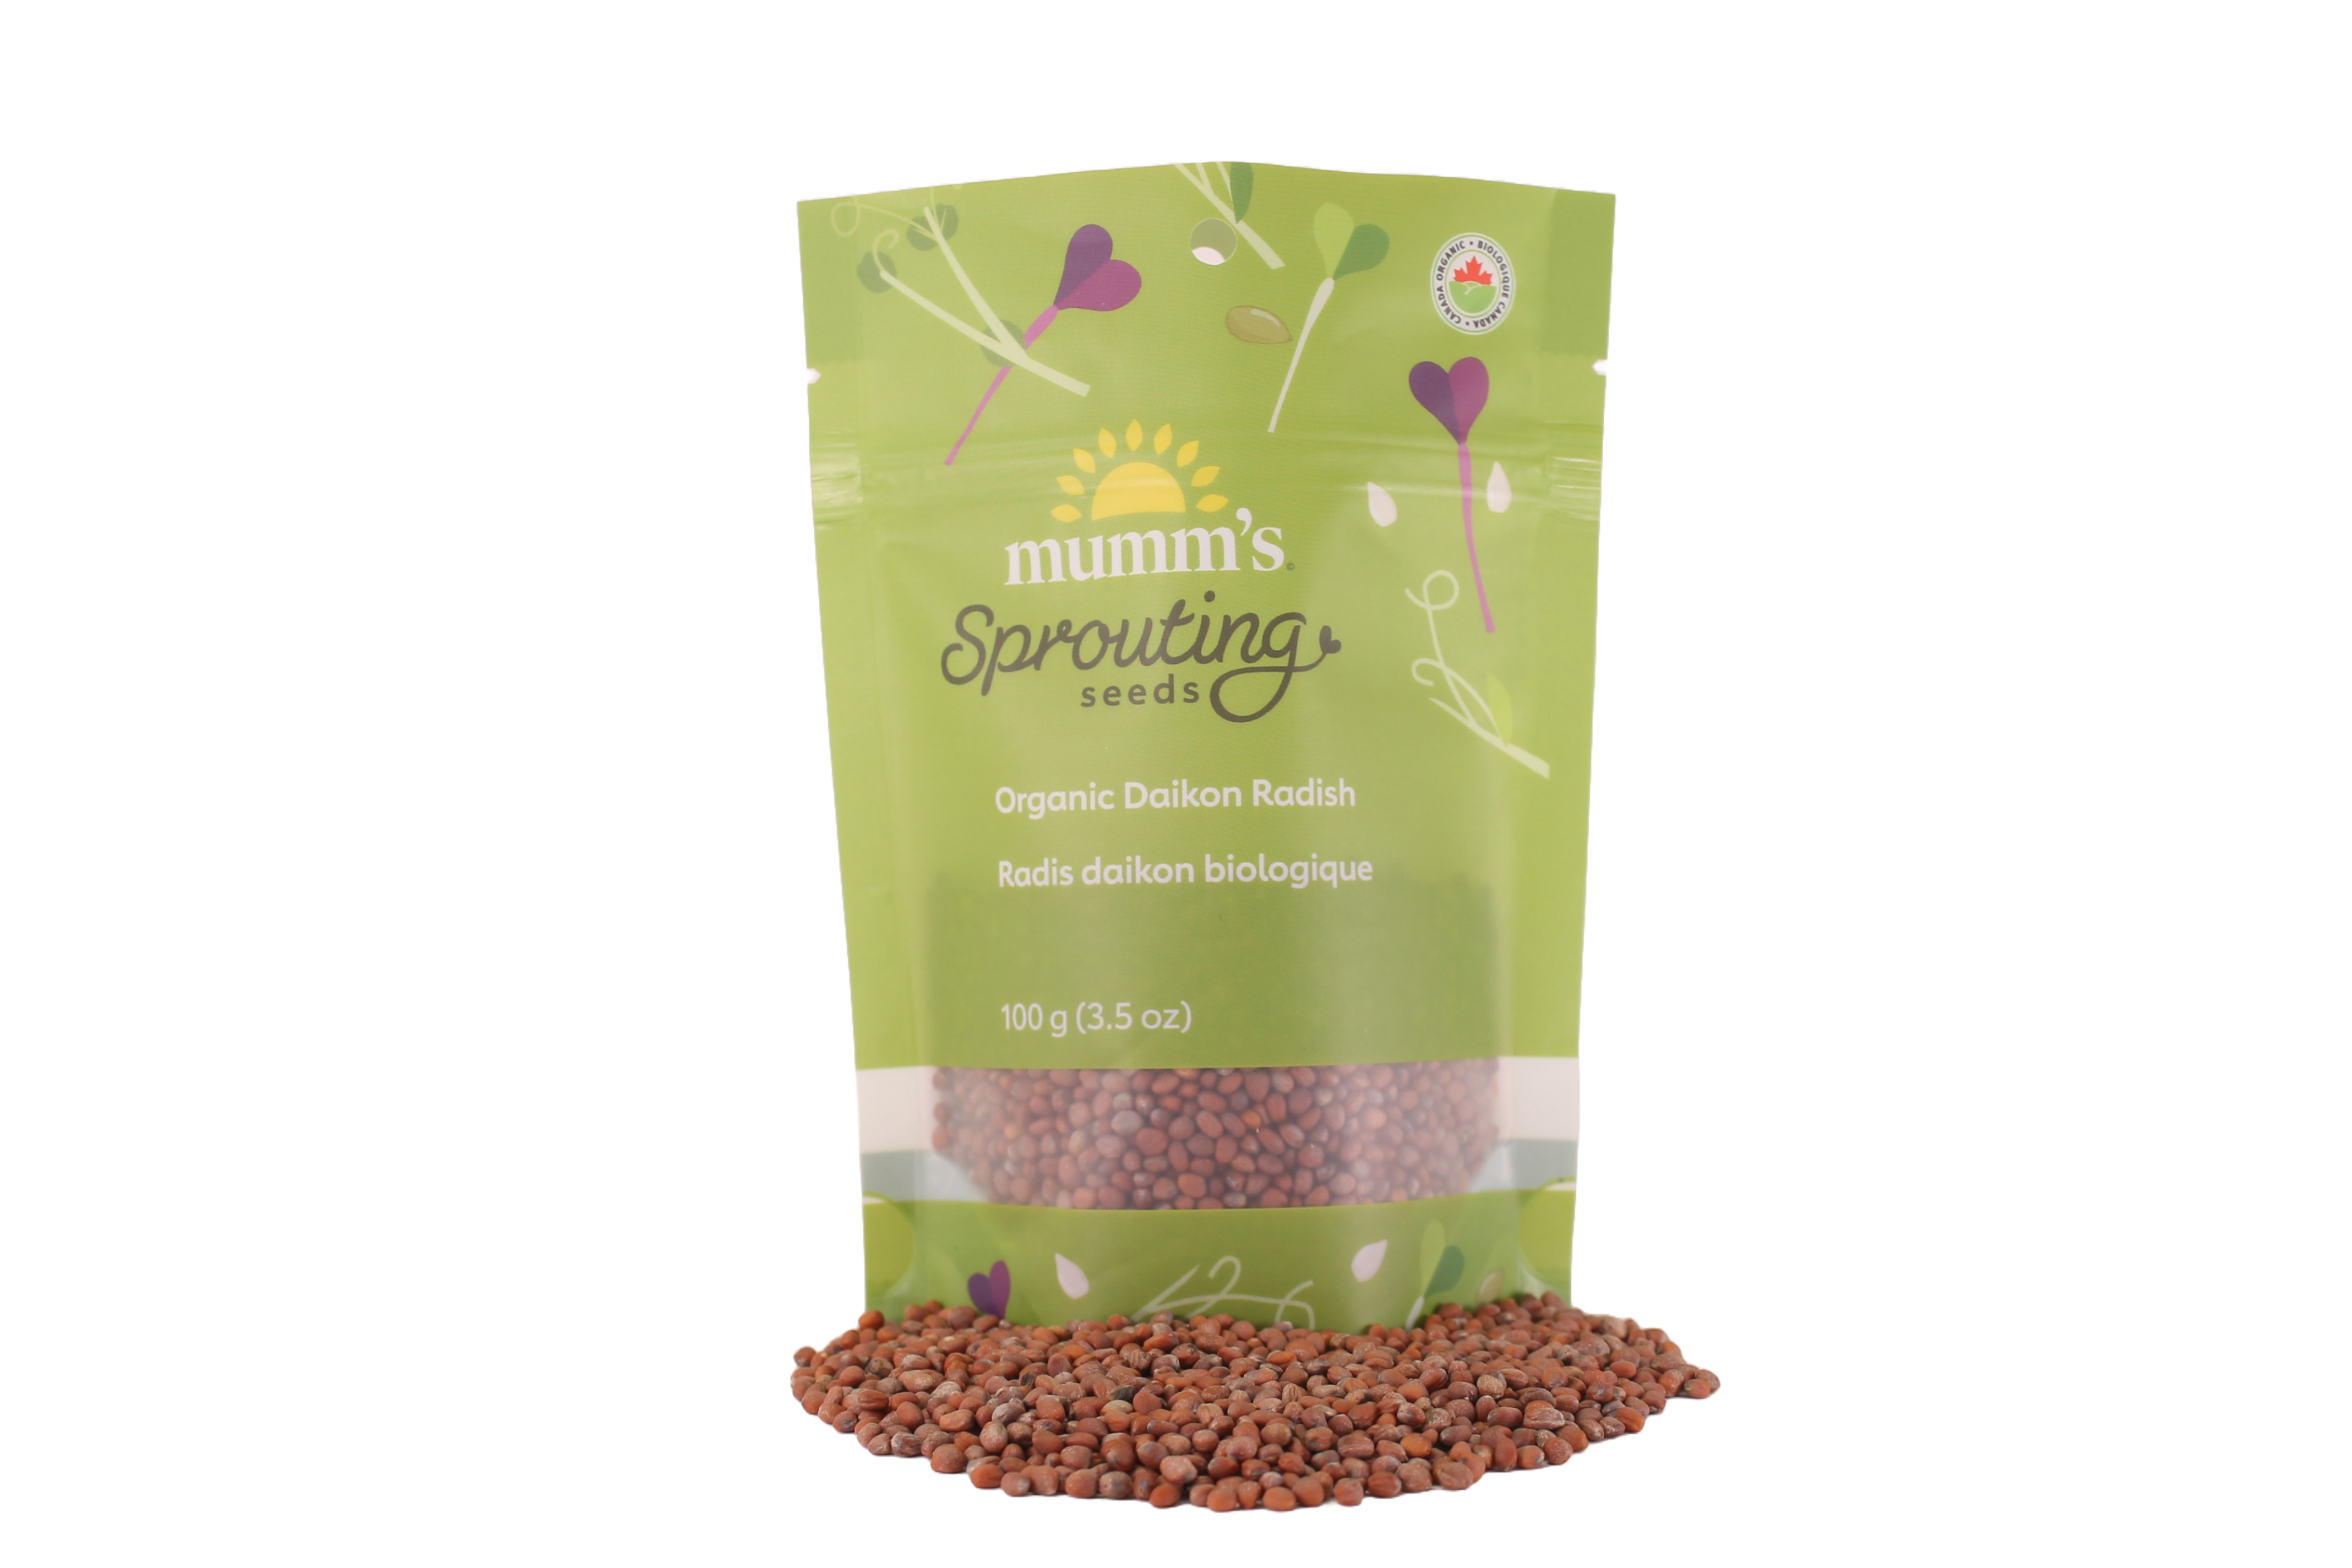
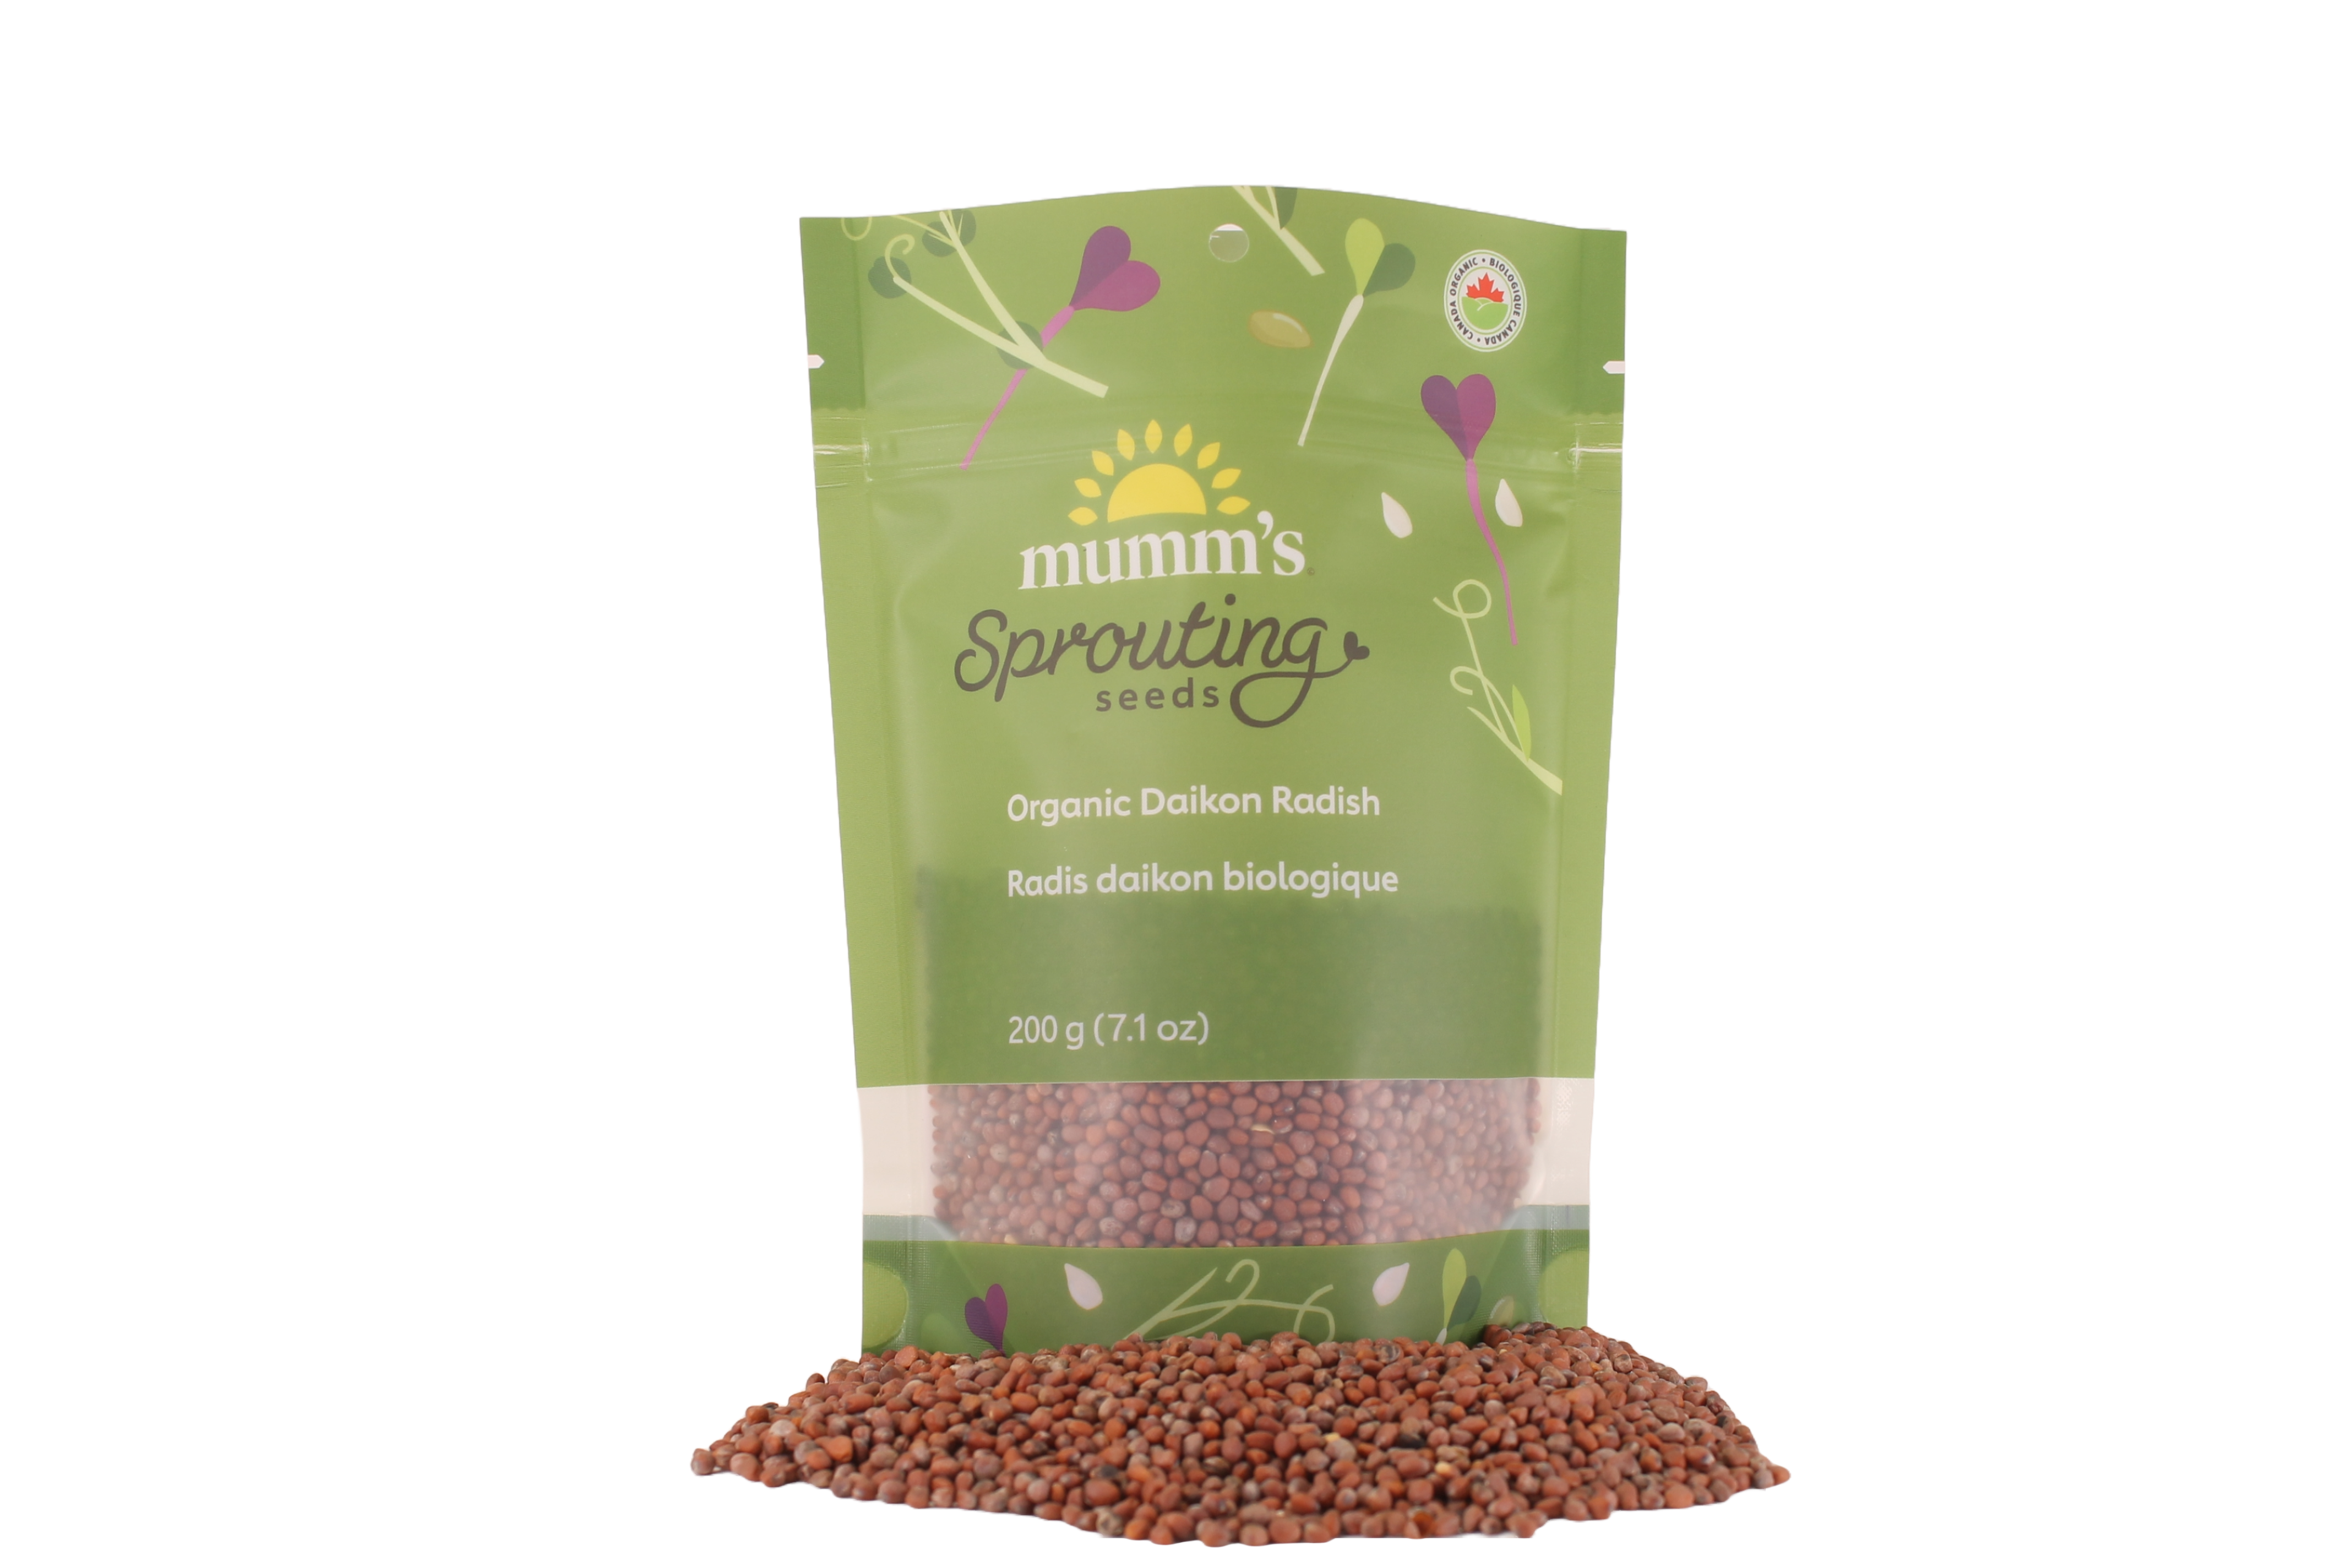
Grow sprouts or microgreens with that fresh garden radish flavour year-round!
Our current lot of daikon radish contains traces of wheat.
NOTE – Radish has an extensive fuzzy white root hair system that is sometimes mistaken for mould
- Days to Sprout: Sprout- 4-5, Microgreen- 10-12
- Soak Time: 4-6 hours
- Yield: 1 tbsp of dry seed yields approx. 3-4 cups of sprouts.
- Storage: Our seeds should sprout well for a year after you purchase them, if stored in a cool dry place. If you’d like to extend the germination life of your seeds, store them in the fridge. If you store your seeds in the freezer, they’ll last even longer!
Sprouting Directions
Soak: Put 1-2 Tbsp. seed in a wide mouth jar with a sprouting lid. Add water, swirl, and drain. Refill jar with water and soak 4-6 hours. Drain well and invert jar at an angle on a sprouting or draining rack, or in a bowl or drain rack.
Rinse: Twice a day, refill jar with cold water, swirl, and drain well.
Enjoy! Ready to eat in 5 days. Refrigerate to store. (Sprouts store best when they are fairly dry.)
Helpful tips:
- Some sprouts tend to clump together as they grow. To separate, fill the jar with water, remove the screen and stir gently with a fork during the regular rinse. Remove hulls if desired. Drain well.
- The drier they are the better sprouts keep. Be sure to let sprouts grow another half day after the final sorting rinse before storing in the fridge. Optional: put folded paper towel on top of the sprouts in the jar. Put lid on and refrigerate turned upside down. This removes excess moisture.
- If your home is very warm during the summer months, it may help to rinse the sprouts three times a day with cold water. Stir gently if clumping.
- To remove the hulls and unsprouted seeds from leafy sprouts, use a special sorting rinse. Pull sprouts out of the jar into a large bowl filled with water. Swish gently to separate the tangled roots. Most hulls will separate and rise or sink. Discard the hulls. Collect the sprouts back to the jar with or without aid of a strainer. Return sprouts to jar, drain, and continue sprouting for another half a day or so.
- Some brassicas (cabbage family) like radish and broccoli develop very fuzzy root hairs the longer you leave them undisturbed and these can be mistaken for mould. You will even see these after a few days of storage in the fridge. Stirring and rinsing removes the root hairs for a time.
Grow Microgreens!
Soilless Method
Soak. Using a tray with drainage holes, rinse enough seed to cover the bottom of the tray. Soak the seed for 4-8 hours. Use a jar with a sprouting lid for soaking if the tray holes are too large. Drain, rinse and drain holding at an angle to remove excess water. Spread the seed evenly on the bottom of the tray and cover with a lid top and bottom or put in plastic bag.
Rinse. Rinse with cold water twice a day, using either a gentle flow from a tap, dipping in a sink, or spraying. Drain thoroughly.
Grow. The roots will form a mat from which the microgreens will emerge. At that point, put in indirect sunlight, florescent/LED lights or grow lights. The watering is then easy: fill the container 1 cm deep with water and allow to sit for a few seconds in the water and then tilt on an angle to decant the water until only some moisture is remaining in the root area. Continue to rinse twice a day as described above.
Harvest!
Typically, microgreens grown without soil are harvested at 7-12 days. Harvest before the next expected rinse so the shoots are dry. Harvest microgreens using scissors or knife.
Instead of harvesting all at once, you can start to harvest microgreens as soon as the first two leaves are spread out. Take only what you need for your meal and allow the rest to keep growing or put the tray in the fridge loosely covered and a plastic bag or dome to harvest another day.
Grow Microgreens!
Soil Method
• 10” x 20” gardening trays (1-inch-tall preferred), 1 with
holes + 1 without. Smaller microgreen trays also work well.
• Good quality organic starting soil mix
• Parchment paper or unbleached paper towel (optional)
• Dome lids (clear or black) or plastic sheet
• Organic seed
• Mister bottle, cup measures, garden spray nozzle (optional)
• Scissors or sharp knife
1. No need to soak radish for microgreens.
Radish is easier to spread on the soil if it has not been soaked.
2. Prepare Soil
Add water to top of the bag (or each tray) 12 hours ahead of use until almost fully hydrated. Rehydrate the bag as necessary. If you were to put the soil in your hand and squeeze it, you should not be able to get much more than a drop of water out of it for the perfect moisture content. If you want to mist the seed after putting it on the soil, reduce the water hydration of the bagged soil a bit.
TIP: To check for overwatering, tip the tray to one end. Water should not pool enough to drip out of the tray.
3. Fill Trays with Soil
Use a tray with holes. Fill with 3/4-1.5” of soil. The closer to the top of the tray the better aid to air circulation. Use a block or your hand to smooth and flatten the soil without compacting it. The back of a tablespoon or spatula smooths out the valleys. You can wait to put the tray without holes under until after unstacking/uncovering or add it to the bottom now.
TIP: Place a layer or two of paper towel on the bottom of the tray before adding soil for easier cleanup.
4. Sow the Seed
Sprinkle the seed evenly over the soil in the tray (pizza cheese shaker, spoon). The seeding density depends on the stage at which you’re planning to harvest. The seeding density depends on the stage at which you’re planning to harvest. Medium seeds like Radish 70g (1/3 c). Sow slightly less seed for 2-3 week microgreens.
Seeds do not need misting if the soil has enough moisture. Mist if you need more moisture. Use a spray bottle or a garden spray nozzle set to light mist. The soil should be moist throughout, but not soaking wet.
5. Cover the Seed
Doing away with soil as a seed cover decreases the work and time it takes to grow the greens. If stacking the trays on top of each other, use a cover directly on the seed like parchment paper, a plastic sheet or wet unbleached paper towel layer. When not stacking trays, the seed will need protection from drying out by using a dome/lid. Use a clear dome or an inverted 10 x 20” tray without holes. For smaller trays, use several layers of unbleached paper towels folded onto itself with or without a plastic sheet covering the top.
TIP: Most microgreens will grow taller when you keep the light out at the beginning, but this may make the stem weaker. Most seeds germinate in the light no problem.
6. Stack Trays or Cover with Lids
Stacking helps to quickly force the roots into the soil, provides darkness, promotes even germination/growth. Stack 2-5 filled trays on top of each other with an empty tray on the top of the stack with a weight in it. Check at least once a day to see if the trays need water. Cabbage family seed sprouts quickly so stack for 2-3 days. Others stack 3-5 days.
If choosing not to stack, simply cover the trays with clear or black-out plastic, a lid or dome. Check at least once a day to see if the trays need water. Cover for the same number of days as above.
7. Expose to Indirect Sunlight, Florescent/LED or Grow Lights.
After 2-5 days, the microgreens should be ready for light. If the microgreens begin to get quite tall and leggy, this is an indication that they may need a bit more light.
8. Water the Growing Microgreens
Check the seed once or twice daily and water as needed. The soil should be moist, not wet. Once trays are unstacked, add water from below into the no holes tray as necessary.
9. Harvest!
Radish is best harvested at around 9 days with scissors or a sharp knife. It grows tall and tends to fall over if left longer. Make sure microgreens are not damp before storing. If needed, you may use a small fan or salad spinner to dry the microgreens before storing in a sealed container in the fridge.
Instead of harvesting all at once, you can start to harvest microgreens as soon as the first two leaves are spread out. Take only what you need for your meal and allow the rest to keep growing or put the tray in the fridge loosely covered and a plastic bag or dome to harvest another day. Water as necessary.
10. Enjoy!
Microgreens make everything better, so have fun with them and add them to your favourite dishes!
Helpful tips:
• To moisten your bag of soil, add water ahead until almost fully hydrated.
• The roots grow under the soil so it works well to water from below if the tray has holes in it, or open the side of the tray and pour water beside the soil when using flexible plastic trays. Otherwise misting or watering from the top works well too.

Phanh Tram –
An excellent seed for microgreen seed, best of the best
Bathory –
The taste is awesome: crunchy and spicy!
Healthy Eater –
The taste is almost exactly like you’re eating raw daikon (the white root stuff), but with the green color the sprouts carry more health benefits I guess.
Service was very fast. Took less than two days from the time I placed my order.
Seven Oaks ALC –
Virtually all my students, except those who don’t like spicy, loved this sprout.
Neil Bixby –
My wife and I love the Daikon Radish sprouts we make from organic seeds we get from Mumms. A big part of that is the people at Mumms, always willing to help.
gloswo –
Sprouted well and was very tasty.Will buy again.
Lauren –
Crunchy, Spicy and Delicious. Very easy to grow.
SproutPool –
These daikon sprouts grew nicely in my easy sprouter. Has a mild flavor and it’s great in salad rolls and even in green smoothies! I will definitely be buying more of these daikon radish seeds in the future!
KarinD –
These sprouts were excellent quality and easy to grow. Mumm’s has GREAT customer service as well. Highly recommend.
Mike –
One of the first microgreen crops I’ve grown, and have had a few batches since. Good germination rate, and a rather vigorous crop. Put under light after 4 days of germinating and they greened up within hours. Within 6 days they were edible with a mild radish flavour, and on the 7th day they packed a punch with a flavourful peppery spice.
Sobe –
I’m on my second batch of these seeds, they sprout fast, and taste great! They have a bit of a spicy taste to it. Great on sandwiches and in salads
Brian Traxler –
Daikon Radish is high on the list of brassicas that produce sulforaphane, which is currently under study at Mayo Clinic, for curative powers! Mumms is high on my list for quality, service, service, and service!
canadian farmer –
Love them. Great with perogi.
Barb –
Excellent sprout seeds
Witty Peasant –
Great spicey taste, easy to grow as microgreen on baby blanket!
Kathy –
This is a great tasting,fast growing, good sized sprout. I have bought this one several times and it’s one of my favourites.
Yolie –
5 stars: for almost 100% germination and wonderful flavour
PVTram –
Great for microgreen, you can obtain the greens in 7 days, We are the repeat customer for Daikon Radish , we order in 10 kg. in both Canada and USA when we stay at our daughter place in Oregon.
But the seeds price we pay more in USA order.
fibrefan –
always the perfect compliment to most salad
Mike –
Excellent germination rate, taste, growth and fast shipping !
duhnice –
great product and good germination and taste
take root microgreens –
We are a relatively new microgreen urban vertical farm and this is one of our most popular. Great peppery flavor, love these!
NewbieGardener –
The most forgiving microgreen. Sure am glad I grew daikon and triton first as they were overwhelmingly vigourous – thick and robust and easy to care for. A full radish flavour, but it tones right down when mixed with other greens, or added to a sandwich or hot dish. I have had success with a tray sprouter and with small trays using soil and try to always have one small tray on hand for snipping.
Plant woman –
Prolific grower. Spicy! My husband’s favorite sprout. Gives zing to many dishes. Very Pleased!
Heather Smith –
Great on sandwiches or salads with just the right amount of bite (spice).
Heather Smith –
Excellent flavor and yield. Quality is unsurpassed.
omlo –
Easy to sprout, great flavor. I like that I can sprout these on my own all year long. I use these in salads, on sandwiches and avocado toast
Janisu7 –
There is just so many ways to enjoy Daikon Radish sprouts, fresh, steamed, sautéed, but the latest was a real treat, we freeze dried them, then powered them. The powder is so powerfully delicious added to just about everything, especially to vegetable dips!
Janisu7 –
Only 1 or 2 seeds do not germinate per tray of radish seeds, honestly I’ve never had such good quality seeds. And the sprouts continue to grow in the fridge. Now that is some healthy vibrant seed stock and I imagine the heath benefits are just as powerful!
PG –
The germination is just Ok. Visually see the seeds are quite uneven, after germination, some spots are small or saying slow grow. Also can visually see some grits in the seed bag.
Mike –
I’ve gotten radish from mumms before and usually it’s turned out ok. Unfortunately this batch has been horrible in its germination, and over all yield. I don’t know why and unlike most things about mumms, their customer service is lacking,. This post is to warn people before buying radish from mumms.
rebecca –
s’est conservé au congélateur plus de 2 ans en gardant tout son potentiel
Bri –
I like a nice juicy and crunchy radish sprout—the Triton is my go to. When Mumm’s ran out, I tried the daikon. The daikon is a good sprout taste wise, but it is a green leggy sprout so not what I was looking for. I liked them on sandwiches and will add them to mixes….and I will probably just plant them outside.
Jay –
Germination is very good and fast. Flavor is very good specially when you mix with other microgreens.
GHE$ –
Quick to spout, better than anything you buy, I am hooked on nutrients…:)
Sunny –
We love these as a flavour booster in our lunch salads. I can’t grow radishes and these add a mild radish flavour. They grow quickly and are ready in about 4 days. I will never let us run out of these seeds
A.E. –
These sprout quickly and the taste is delightful.
Shera –
I have a special grower for this product, it works like a charm. very easy to grow and a delicious addition to salads , sandwiches or just eat ’em up
Very Happy –
Superb products, excellent service, also bought Curly Cress and Alfalfa, both excellent. Can’t wait for my next order
GrandpaChris Greaves –
Good growth
Sproutgirl –
I decided to buy the 200g sized bag. I haven’t sprouted these in years but I remember that when I did a few years back how much I loved them. Also apparently they are also good source of sulphoraphane even though the studies aren’t as extensive as broccoli. They sprout very quickly which is a good alternative to the broccoli especially when it gets hot in the summer in my apartment. Delicious with a little bit of a bit to it. Worth trying + will continue to buy at mumm’s.
Andrew –
The growing instructions on the package turn the product to smelly paste.
The correct instructions are on your website.
Apart from that, They’re great.
AmmyS –
What a great mix of sprouts. They are so easy to grow. Leave it for a few days in the mason jars and the jars are so full! These seeds are truly amazing. The flavour is great. I love it as it as a salad, and will ensure you a healthy daily meal.
10922749 Canada Ltd –
We have been a business client for at least 4 years and have used many of their microgreen seeds for our local indoor microgreens farm.The quality of their seeds is great. These Radish Daikon seeds have never ever disappointed us. They always germinate well and we get high yields every single time. We’re grateful to have a great seed vendor available in Canada. We believe it’s great to support local businesses and the environment at the same time. Thanks you, we grately appreciate you!
Mathieu Boutin-Bastien –
Daikon radish is nice for the price and milder taste than triton radish in microgreens. But it’s less productive and way less sturdy as a crop. For the small price increase, i’d favor triton radish.