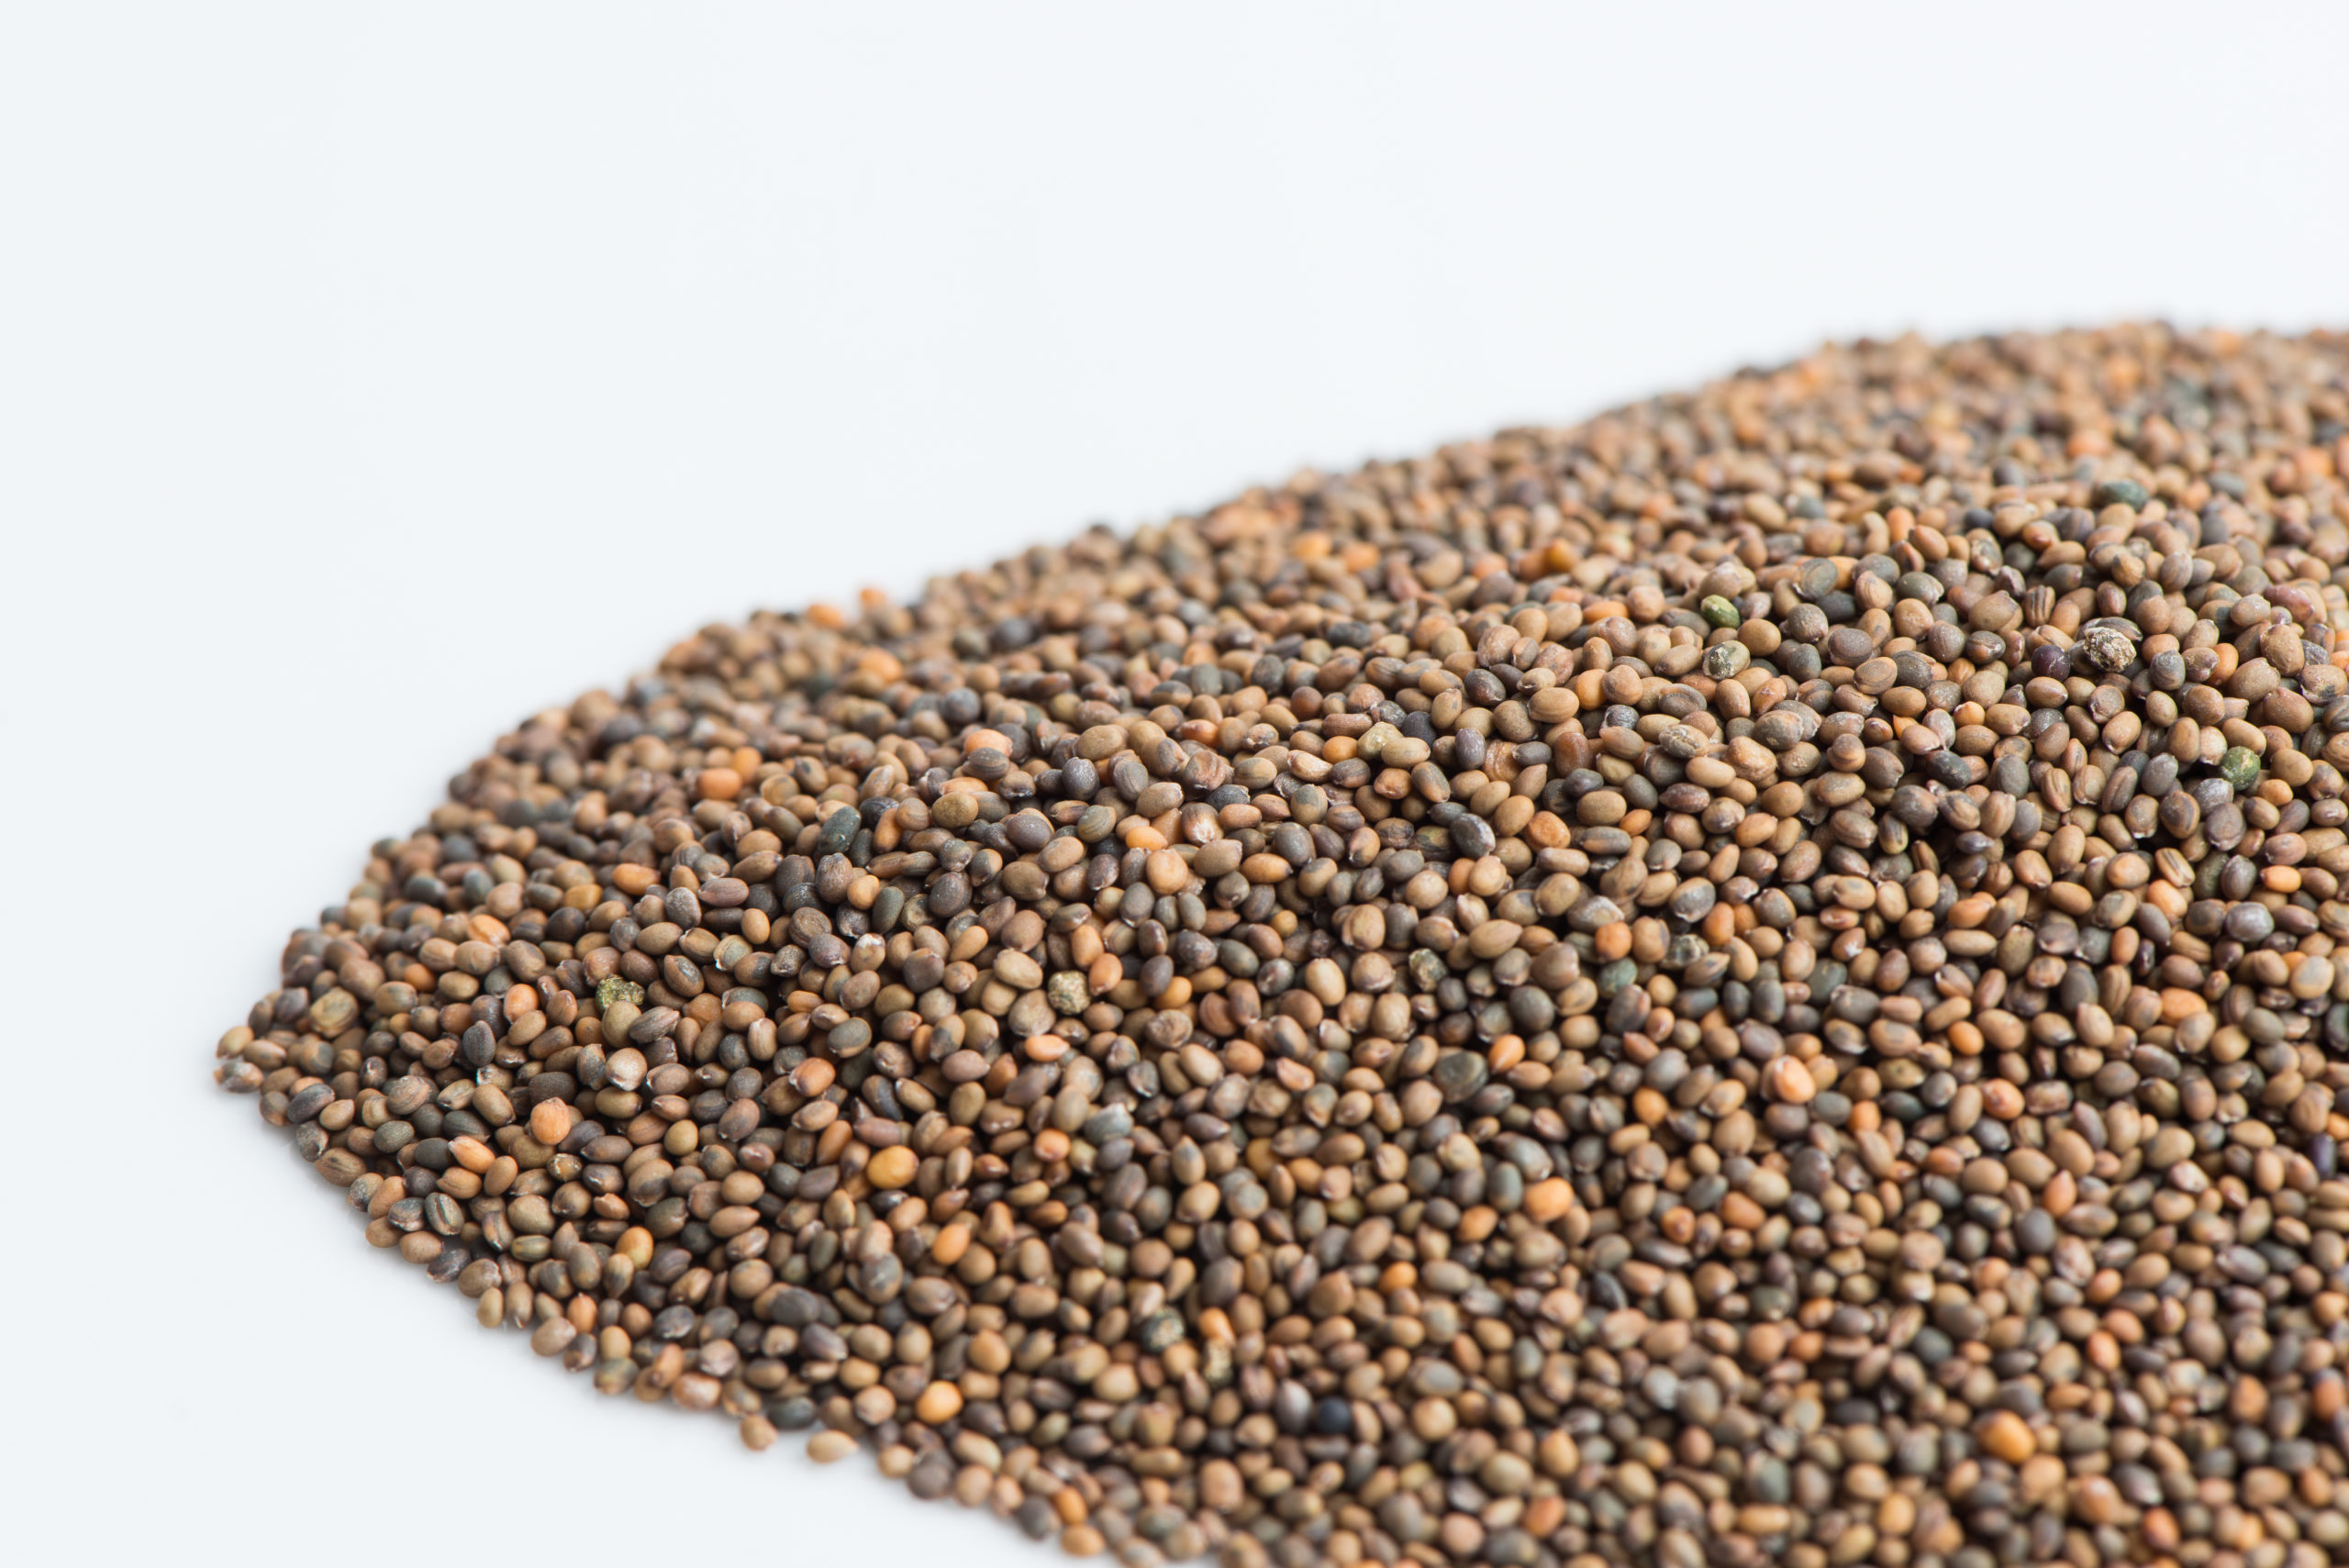
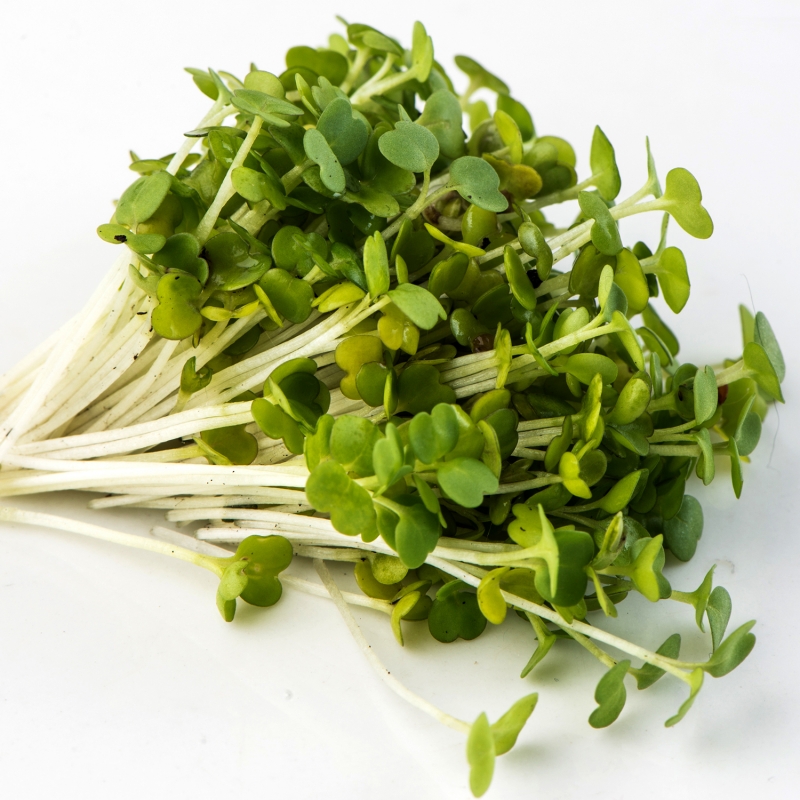
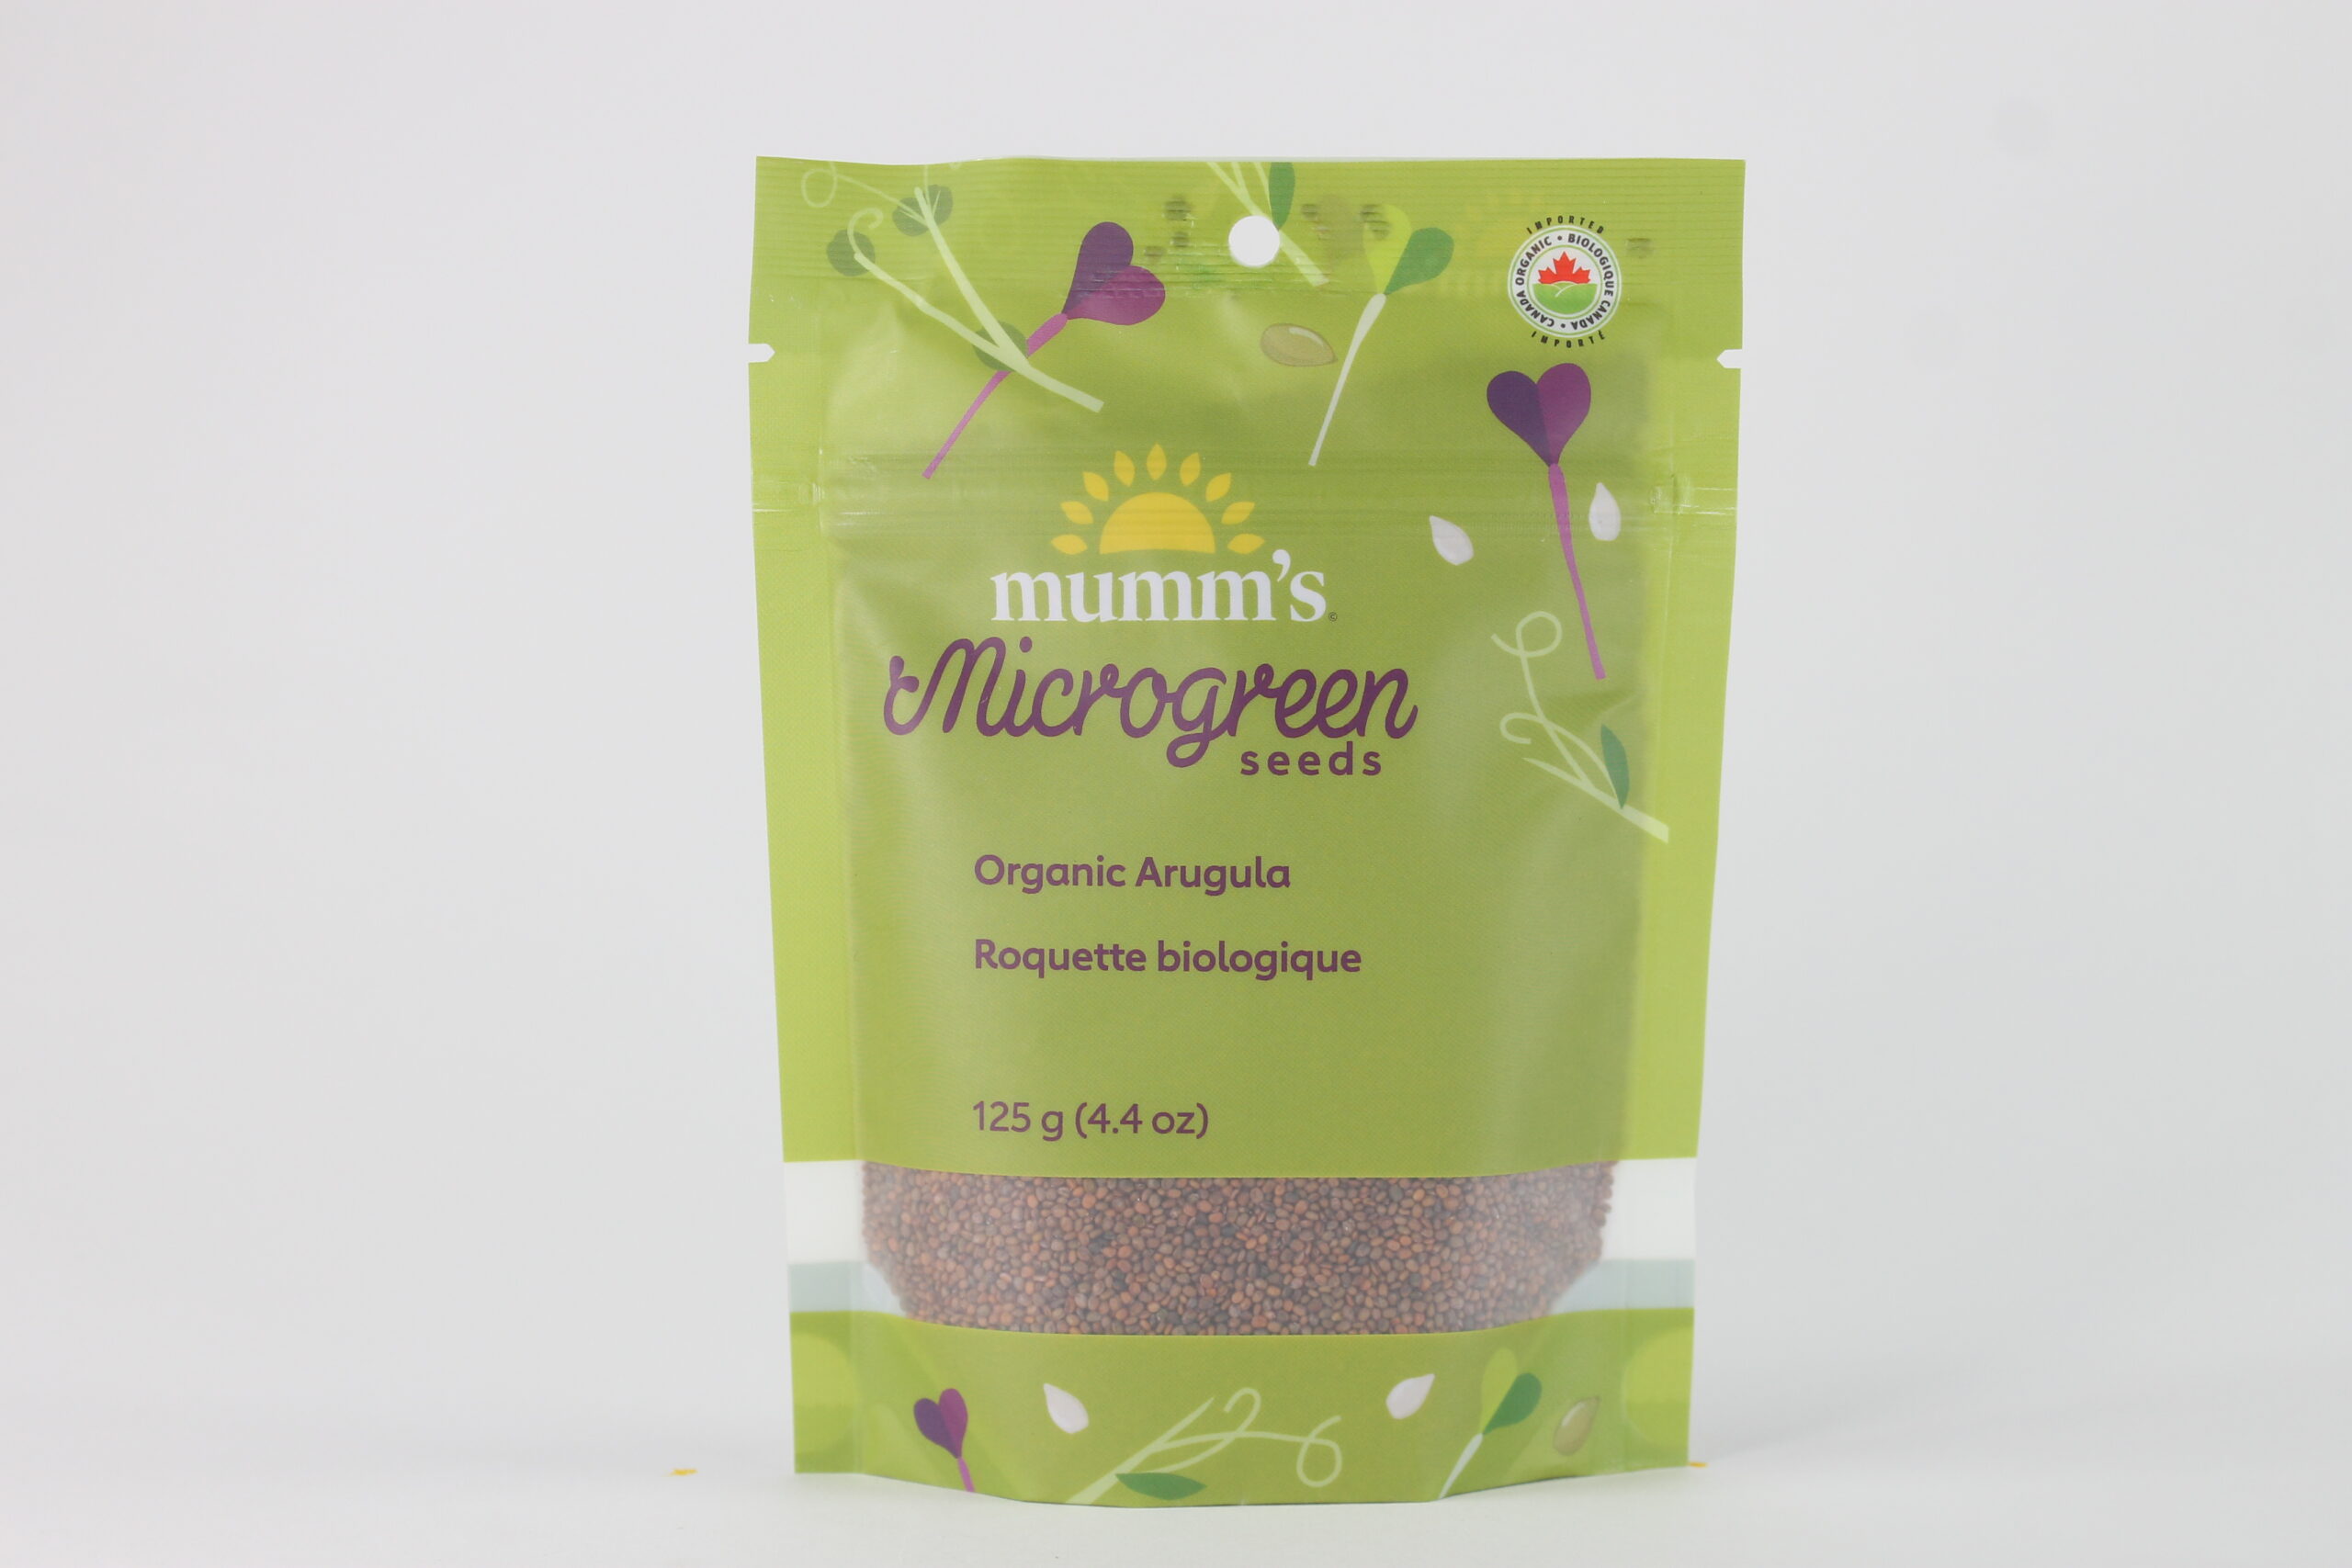
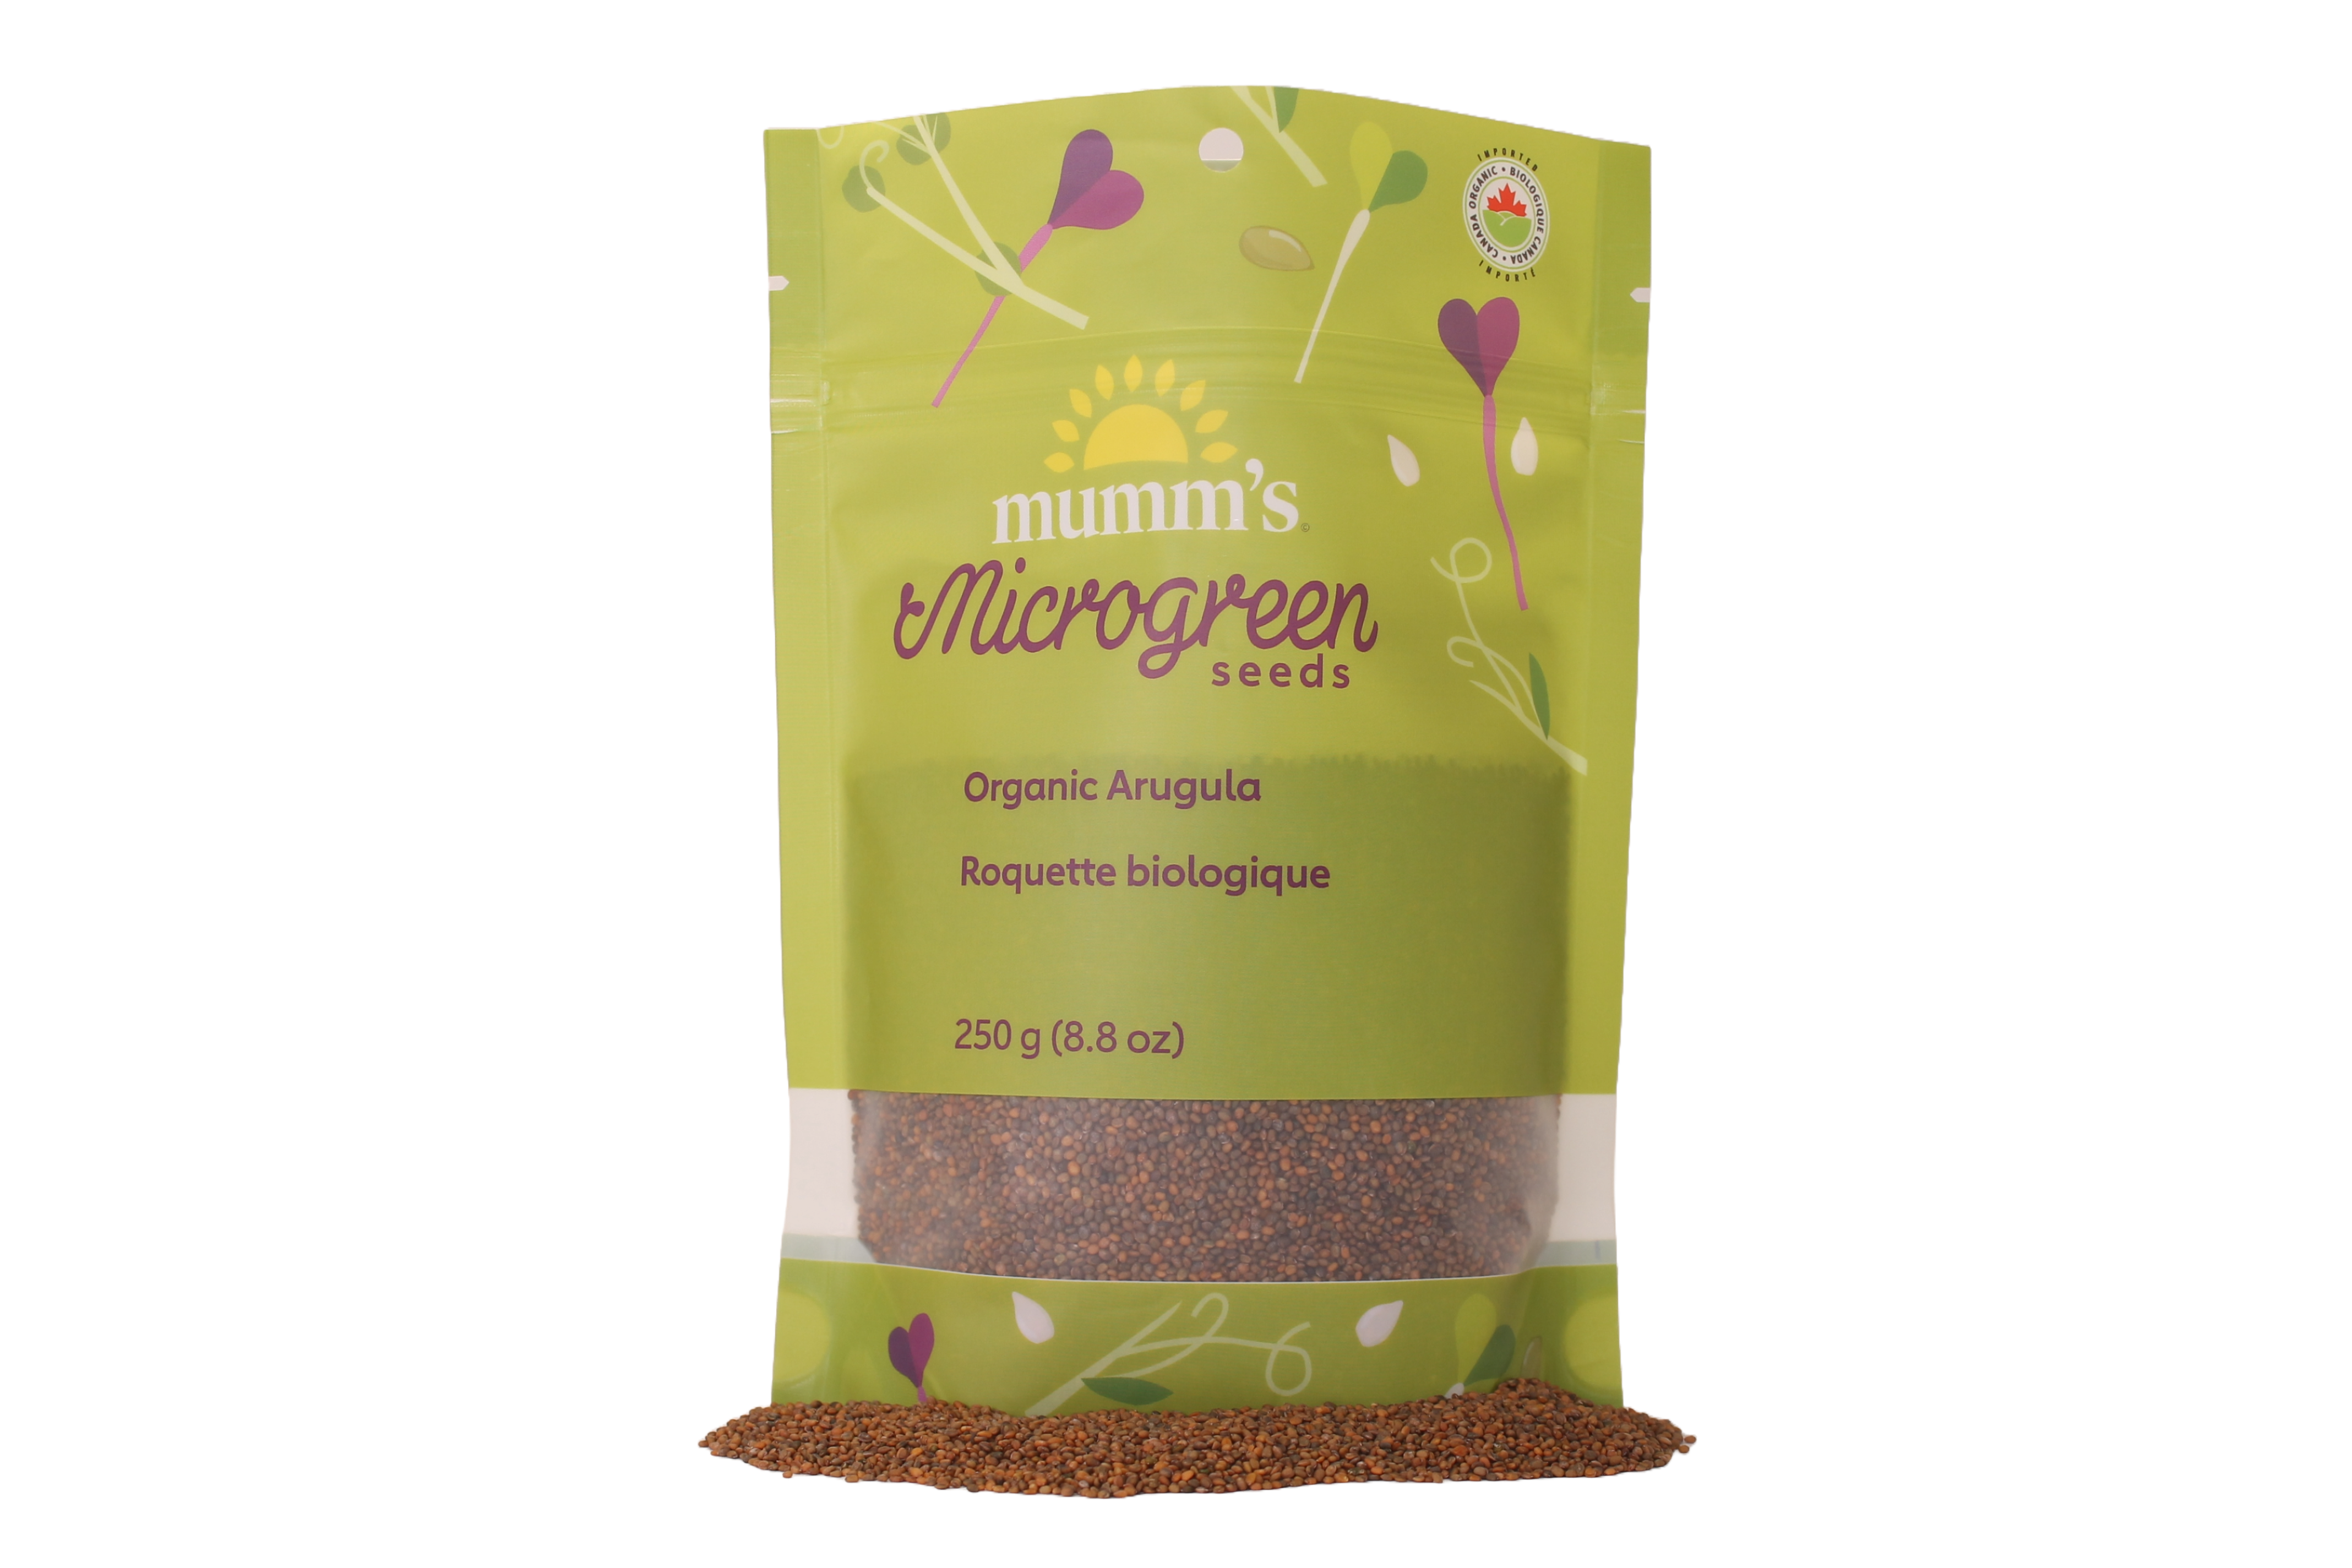
Lovely bright, peppery sprouts and microgreens
- Days to Microgreen: 8-12 days
- Soak Time: No soak
- Yield: Sprouts- 1 tbsp. dry seed yields approx. 2-3 cups sprouts. Microgreens- 1 tbsp. dry seed yields approx. 8-12 cups microgreens.
- Storage: Our seeds should sprout well for a year after you purchase them, if stored in a cool dry place. If you’d like to extend the germination life of your seeds, store them in the fridge. If you store your seeds in the freezer, they’ll last even longer!
Grow Arugula Microgreens! (soilless method)
No Soak, mist only. Day 1
Fit a heavy duty or unbleached paper towel to your sprouter of choice- on a plate, porous surface like a terracotta pot bottom or tray with grid holes in the bottom of it.
Mist paper towel so the seed will stick to the surface when you spread them.
Sprinkle the seed in one thin layer so after misted and taken up the water, the seeds will be one seed beside the other. Use spoon or other tool to separate clumps.
Mist seed on the towel 2x in the first hour or two to be sure it has started to hydrate. Pour off pooled water.
Place sprouter in a vented plastic bag and return it after every rinse.
Rinse/mist twice daily.
Once the seed is stuck to the paper mist more aggressively. Need enough water to prevent roots from browning. Alternatively, water from a slow-moving tap
Drain off any excess water with each rinse. Tap the sprouter to release water from the holes under towel. Drain off excess water on your plate.
Grow & Harvest
By day 3 the sprouts have raised above the towel and start to free themselves from the towel. At this time, you can decide to take the towel out or let the roots grow into the towel in a day or two. If you choose to scrape the sprouts off the towel carefully water under the tap gently until you harvest on day 5, 6 or 7. The gelatinous nature of the hulls, make them susceptible to mold so eat the sprouts soon after harvest.
If you chose to leave the sprouts to grow into the towel, water until the now shoots are tall enough to cut with scissors above the roots- probably day 7 to 9.
Cress is the only gelatinous seed you will be able to put in a bowl of water and float some of the hulls off of if you want to. There is lots of fiber in the hulls and there are advantages to eating the whole sprout.
Enjoy!
Grow Microgreens! (soilless directions)
No Soak, mist only. Day 1
Fit a heavy duty or unbleached paper towel to your sprouter of choice- on a plate, porous surface like a terracotta pot bottom or tray with grid holes in the bottom of it.
Mist paper towel so the seed will stick to the surface when you spread them.
Sprinkle the seed in one thin layer so after misted and taken up the water, the seeds will be one seed beside the other. Use spoon or other tool to separate clumps.
Mist seed on the towel 2x in the first hour or two to be sure it has started to hydrate. Pour off pooled water.
Place sprouter in a vented plastic bag and return it after every rinse.
Rinse/mist twice daily.
Once the seed is stuck to the paper mist more aggressively. Need enough water to prevent roots from browning. Alternatively, water from a slow-moving tap
Drain off any excess water with each rinse. Tap the sprouter to release water from the holes under towel. Drain off excess water on your plate.
Grow & Harvest
By day 3 the sprouts have raised above the towel and start to free themselves from the towel. At this time, you can decide to take the towel out or let the roots grow into the towel in a day or two. If you choose to scrape the sprouts off the towel carefully water under the tap gently until you harvest on day 5, 6 or 7. The gelatinous nature of the hulls, make them susceptible to mold so eat the sprouts soon after harvest.
If you chose to leave the sprouts to grow into the towel, water until the now shoots are tall enough to cut with scissors above the roots- probably day 7 to 9.
Cress is the only gelatinous seed you will be able to put in a bowl of water and float some of the hulls off of if you want to. There is lots of fiber in the hulls and there are advantages to eating the whole sprout.
Enjoy!
Grow Microgreens!
Soil Method (small seed)
• 10” x 20” gardening trays (1-inch-tall preferred), 1 with
holes + 1 without. Smaller microgreen trays also work well.
• Good quality organic starting soil mix
• Parchment paper, coroplast, or unbleached paper towel,
• Dome lids (clear or black) or plastic sheet
• Organic seed
• Mister bottle, cup measures, garden spray nozzle (optional)
• Scissors or sharp knife
1. Don’t soak small or medium size seed. Experiment with what works.
Small seed such as broccoli and arugula are easier to sprinkle on top of the soil if they are not soaked.
2. Prepare Soil
Add water to top of the bag (or each tray) 12 hours ahead of use until almost fully hydrated. Rehydrate the bag as necessary. If you were to put the soil in your hand and squeeze it, you should not be able to get much more than a drop of water out of it for the perfect moisture content. If you want to mist the seed after putting it on the soil, back off the water hydration of the bagged soil a bit.
TIP: To check for overwatering, tip the tray to one end. Water should not pool enough to drip out of the tray.
3. Fill Trays with Soil
Use a tray with holes. Fill with 3/4-1.5” of soil. The closer to the top of the tray the better aid to air circulation. Use a block or your hand to smooth and flatten the soil without compacting it. The back of a tablespoon or spatula smooths out the valleys. You can wait to put the tray without holes under until after unstacking/uncovering or add it to the bottom now.
TIP: Place a layer or two of paper towel on the bottom of the tray before adding soil for easier cleanup.
4. Sow the Seed
Sprinkle the seed evenly over the soil in the tray (pizza cheese shaker, spoon). The seeding density depends on the stage at which you’re planning to harvest. For small seeds for 1-week microgreens, start with approximately 15 -28 grams (1.5 – 2 Tbsp). Sow slightly less seed for 2-3 week microgreens.
Seeds do not need misting if the soil has enough moisture. Mist if you need more moisture. Use a spray bottle or a garden spray nozzle set to light mist. The soil should be moist throughout, but not soaking wet.
5. Cover the Seed
Doing away with soil as a seed cover decreases the work and time it takes to grow the greens. If stacking the trays on top of each other, use a cover directly on the seed like parchment paper, a plastic sheet or wet unbleached paper towel layer. When not stacking trays, the seed will need protection from drying out by using a dome/lid. Use a clear dome or an inverted 10 x 20” tray without holes. For smaller trays, use several layers of unbleached paper towels folded onto itself with or without a plastic sheet covering the top.
TIP: Most microgreens will grow taller when you keep the light out at the beginning, but this may make the stem weaker. Most seeds germinate in the light no problem.
6. Stack Trays or Cover with Lids
Stacking helps to quickly force the roots into the soil, provides darkness, promotes even germination/growth. Stack 2-5 filled trays on top of each other with an empty tray on the top of the stack with a weight in it. Check at least once a day to see if the trays need water. Cabbage family seed sprouts quickly so stack for 2-3 days. Others stack 3-5 days.
If choosing not to stack, simply cover the trays with clear or black-out plastic, a lid or dome. Check at least once a day to see if the trays need water. Cover for the same number of days as above.
7. Expose to Indirect Sunlight, Florescent/LED or Grow Lights.
After 2-5 days, the microgreens should be ready for light. If the microgreens begin to get quite tall and leggy, this is an indication that they may need a bit more light.
8. Water the Growing Microgreens
Check the seed once or twice daily and water as needed. The soil should be moist, not wet. Once trays are unstacked, add water from below into the no holes tray as necessary.
9. Harvest!
Microgreens are harvested at 1-3 weeks with scissors or a sharp knife. Make sure microgreens are not damp before storing. If needed, you may use a small fan or salad spinner to dry the microgreens before storing in a sealed container in the fridge.
Instead of harvesting all at once, you can start to harvest microgreens as soon as the first two leaves are spread out. Take only what you need for your meal and allow the rest to keep growing or put the tray in the fridge loosely covered and a plastic bag or dome to harvest another day. Water as necessary.
10. Enjoy!
Microgreens make everything better, so have fun with them and add them to your favourite dishes!
Helpful tips:
• To moisten your bag of soil, add water ahead until almost fully hydrated.
• The roots grow under the soil so it works well to water from below if the tray has holes in it, or open the side of the tray and pour water beside the soil when using flexible plastic trays. Otherwise misting or watering from the top works well too.
Baby Blanket
Unbleached heavy paper towel
Unbleached coffee filter
Unglazed clay surface
Soil
Part of a typical Roman meal was to offer a salad of greens, frequently Arugula, romaine, chicory, mallow and lavender and seasoned with a "cheese sauce for lettuce". Arugula seed has been used as an ingredient in aphrodisiac concoctions dating back to the first century, AD.
According to an adult’s daily nutritional goals, set out in the FDA’s daily values (DV), a cup of arugula will provide: 27.7% of vitamin K3.2% of calcium2.5% of vitamin CArugula also contains some iron, folate, magnesium, potassium, and provitamin A.


ray –
grows well and excellent flavour !
Blue Clover Microgreens –
I bought my seeds three years ago, and for some reason they fell to the bottom of my freezer.
Today, they’re sprouting as if the batch was just purchased.
Andrew –
The growing instructions on the package turn the product to smelly paste.
The correct instructions are on your website.
Apart from that, They’re great.
Ginny –
I found them time consuming and difficult to start. How do you keep small seeds separate one from the other? I put them on an unglazed underside of a plate and some seeds attached to it and it was difficult to take them off and rinse off some of the fuzz that attached to the seeds after a while. So have to find a different method, but still think they are fussy to grow, but I like the sprouts very much. Maybe I will try to glass method anyhow, which would be much easier.
Bathory –
Good sprouts quality. I’ve really liked it!
Ani –
Crisp, clean flavour – used them in a sandwich just to be different. Will definitely do so again.
ASprout –
These were fast and easy to grow and taste amazing, peppery!
The meaty chickpea –
Quick germination and sprouting using a cotton medium and transparent dome. Very tasty micro greens! Ready in 6 days!
Nancy H.H.A. –
awesome germination, great flavors, great value for high quality & amount of seeds per option, no gmo 🙂 … we are return customers & will be back again. Keep supporting the Canadian Businesses
Green417 –
Price good. Delivery’s good ans sprouts grown up in my kitchen 🙂
Beezu –
Adds tonnes of flavour. A nice spice. My wife doesn’t like it unless it is very sparsely added.
Rick –
takes too long , grows small, too much effort
rockhound –
small sprouts, roots are gooey snip them above about 1-2 cm long, nice strong taste.
above average –
Bought the seeds to try something new. Since its growing season. I will try growing arugula in the garden.
Xxen –
I tried a few batches and each time they went all jelly and started to smell bad. I have grown many varieties and I must say never had an issue before
Karen –
I have just started another batch of arugula sprouts after having great success with my first attempt using the unglazed dish as instructed. The instructions on-line were very helpful. They seemed to stop growing after about one -inch in size. Very tasty.
Pia –
Best seeds ever!! Sprouted after only ONE day! Ready to harvest in 5 days.
Make sure you only spray them NOT water them , since they become glibbery!!
Beat Hegnauer –
I use it for Micro Greens. Germinates very well in the Urban Cultivators Units. Nice even growth. Ready for harvest in 8 t0 10 days. Nice spicy flavour.
ksym –
fabulous! I live in a rainy city and they’ve still grown right next to the window
Shelly –
Grew quickly as an indooor microgreen and tasted great!
Carmie –
Easily sprouted in soil, started off in warm location and then moved to a south window. I think this product would do better under a grow light if sprouting as a micro green indoors.
W. Brown –
Hey guys,
I just wanted to tip my hat to the Mumm’s team. Ordering was super easy, delivery was super quick & the packaging is awesome. The pricing is pretty good too. i’m about to start planting over the next week or so, just need to get the heating source set up in the green house. fingers crossed. An additional special thanks should go to Curtis Stone (The Urban Farmer/ Green City Acres). By watching his YouTube channel I learned that you guys exist. I’ll be sure to let all my friends know here on the east coast. Hoping to push some additional business your way. I’ll be a repeat customer, I’m sure of it.
Thanks
W. Brown
Preston –
These sprouts are tiny, but they have the full flavour of arugula. I’m actually going to try planting them in my garden this spring to see if I can get some full leaves.
artful living –
I am brand new with the at home sprouting process so my first try with arugula was to use the sprouting jar. As I then read & discovered the seeds are very gelatinous. I started a new spoonful putting them onto an unbleached coffee filter with fair results. My next experiment was spreading a layer on an approximately 1-2 cm layer of soil misting them & enclosing beneath a glass bowl lid [a mini greenhouse]… the little sprouts are a vivid green and they will soon be ready to eat!
Brie –
Excellent! I’ve grown them twice now on my hemp bag that I also purchased from mumm’s and it works amazingly! The second time I spread them out a little more and just allowed to tap to run a bit of water under the hemp bag, then allow the bag to become soaked and drain the excess water off the plate. I just cut my sprouts right at the bottom and perfect sprouts in about 6-8 days! So stoked about these 2 products.
Socialist –
Fast growing, great quality seeds.
Jewwell –
I grew arugula as a microgreen and pre-sprouted them although the instructions said not to as the soaked seeds form a gel coating. But there was no problem, they grew fine.
Elaine –
These sprouts taste lovely but the first thing you see are many, many fine roots like a web all over the dish. They green up in about 5 days but by then there is a full mat of roots that are impossible to dry out. I peel them off the coffee filter, swing them around in a towel, pat them with a paper towel and then turn a fan on them to try and dry them out but they are still very, very wet.
Microgreen Grower –
I bought this product to grow Microgreens for the first time. It is really doing well. Gemination is very good. I got 1Kg packet which is too much for me. I kept some in a bottle for and the rest in the freezer. I use about 12g for one tray (10×20) and it gives full of microgreen in the tray. If you are planning to start microgreen I would recommend to buy a 200gm packet.
gardener17 –
Beautiful flavour, definitely a repeat for us.
dom –
very potent flavour yummmy
Daunting –
100% germination rate and excellent microgreen in soil. This is a tasty beautiful microgreen and it grows quickly. Thanks to Mumms for all their advise and outstanding service.
conhal@sasktel.net –
I found the taste to be too strong but will try it in a mix. Germination was great.
Terra Tonics –
The arugula has great sprouting consistency, all of our greens are germinating at an even rate. And the tiny shoots have such amazing peppery flavour!
10922749 Canada Ltd –
We have been a business client for at least 4 years and have used many of their microgreen seeds for our local indoor microgreens farm.The quality of their seeds is great. The arugula seeds for one have never ever disappointed us. We’re grateful to have a great seed vendor available in Canada. We believe it’s great to support local businesses and the environment at the same time. Thanks you, we grately appreciate you!
angelica rose –
first time sprouting this. I absolutely love how easy it was for me. Putting a glass bowl over the seeds created moisture to help it sprout. taste yummy