
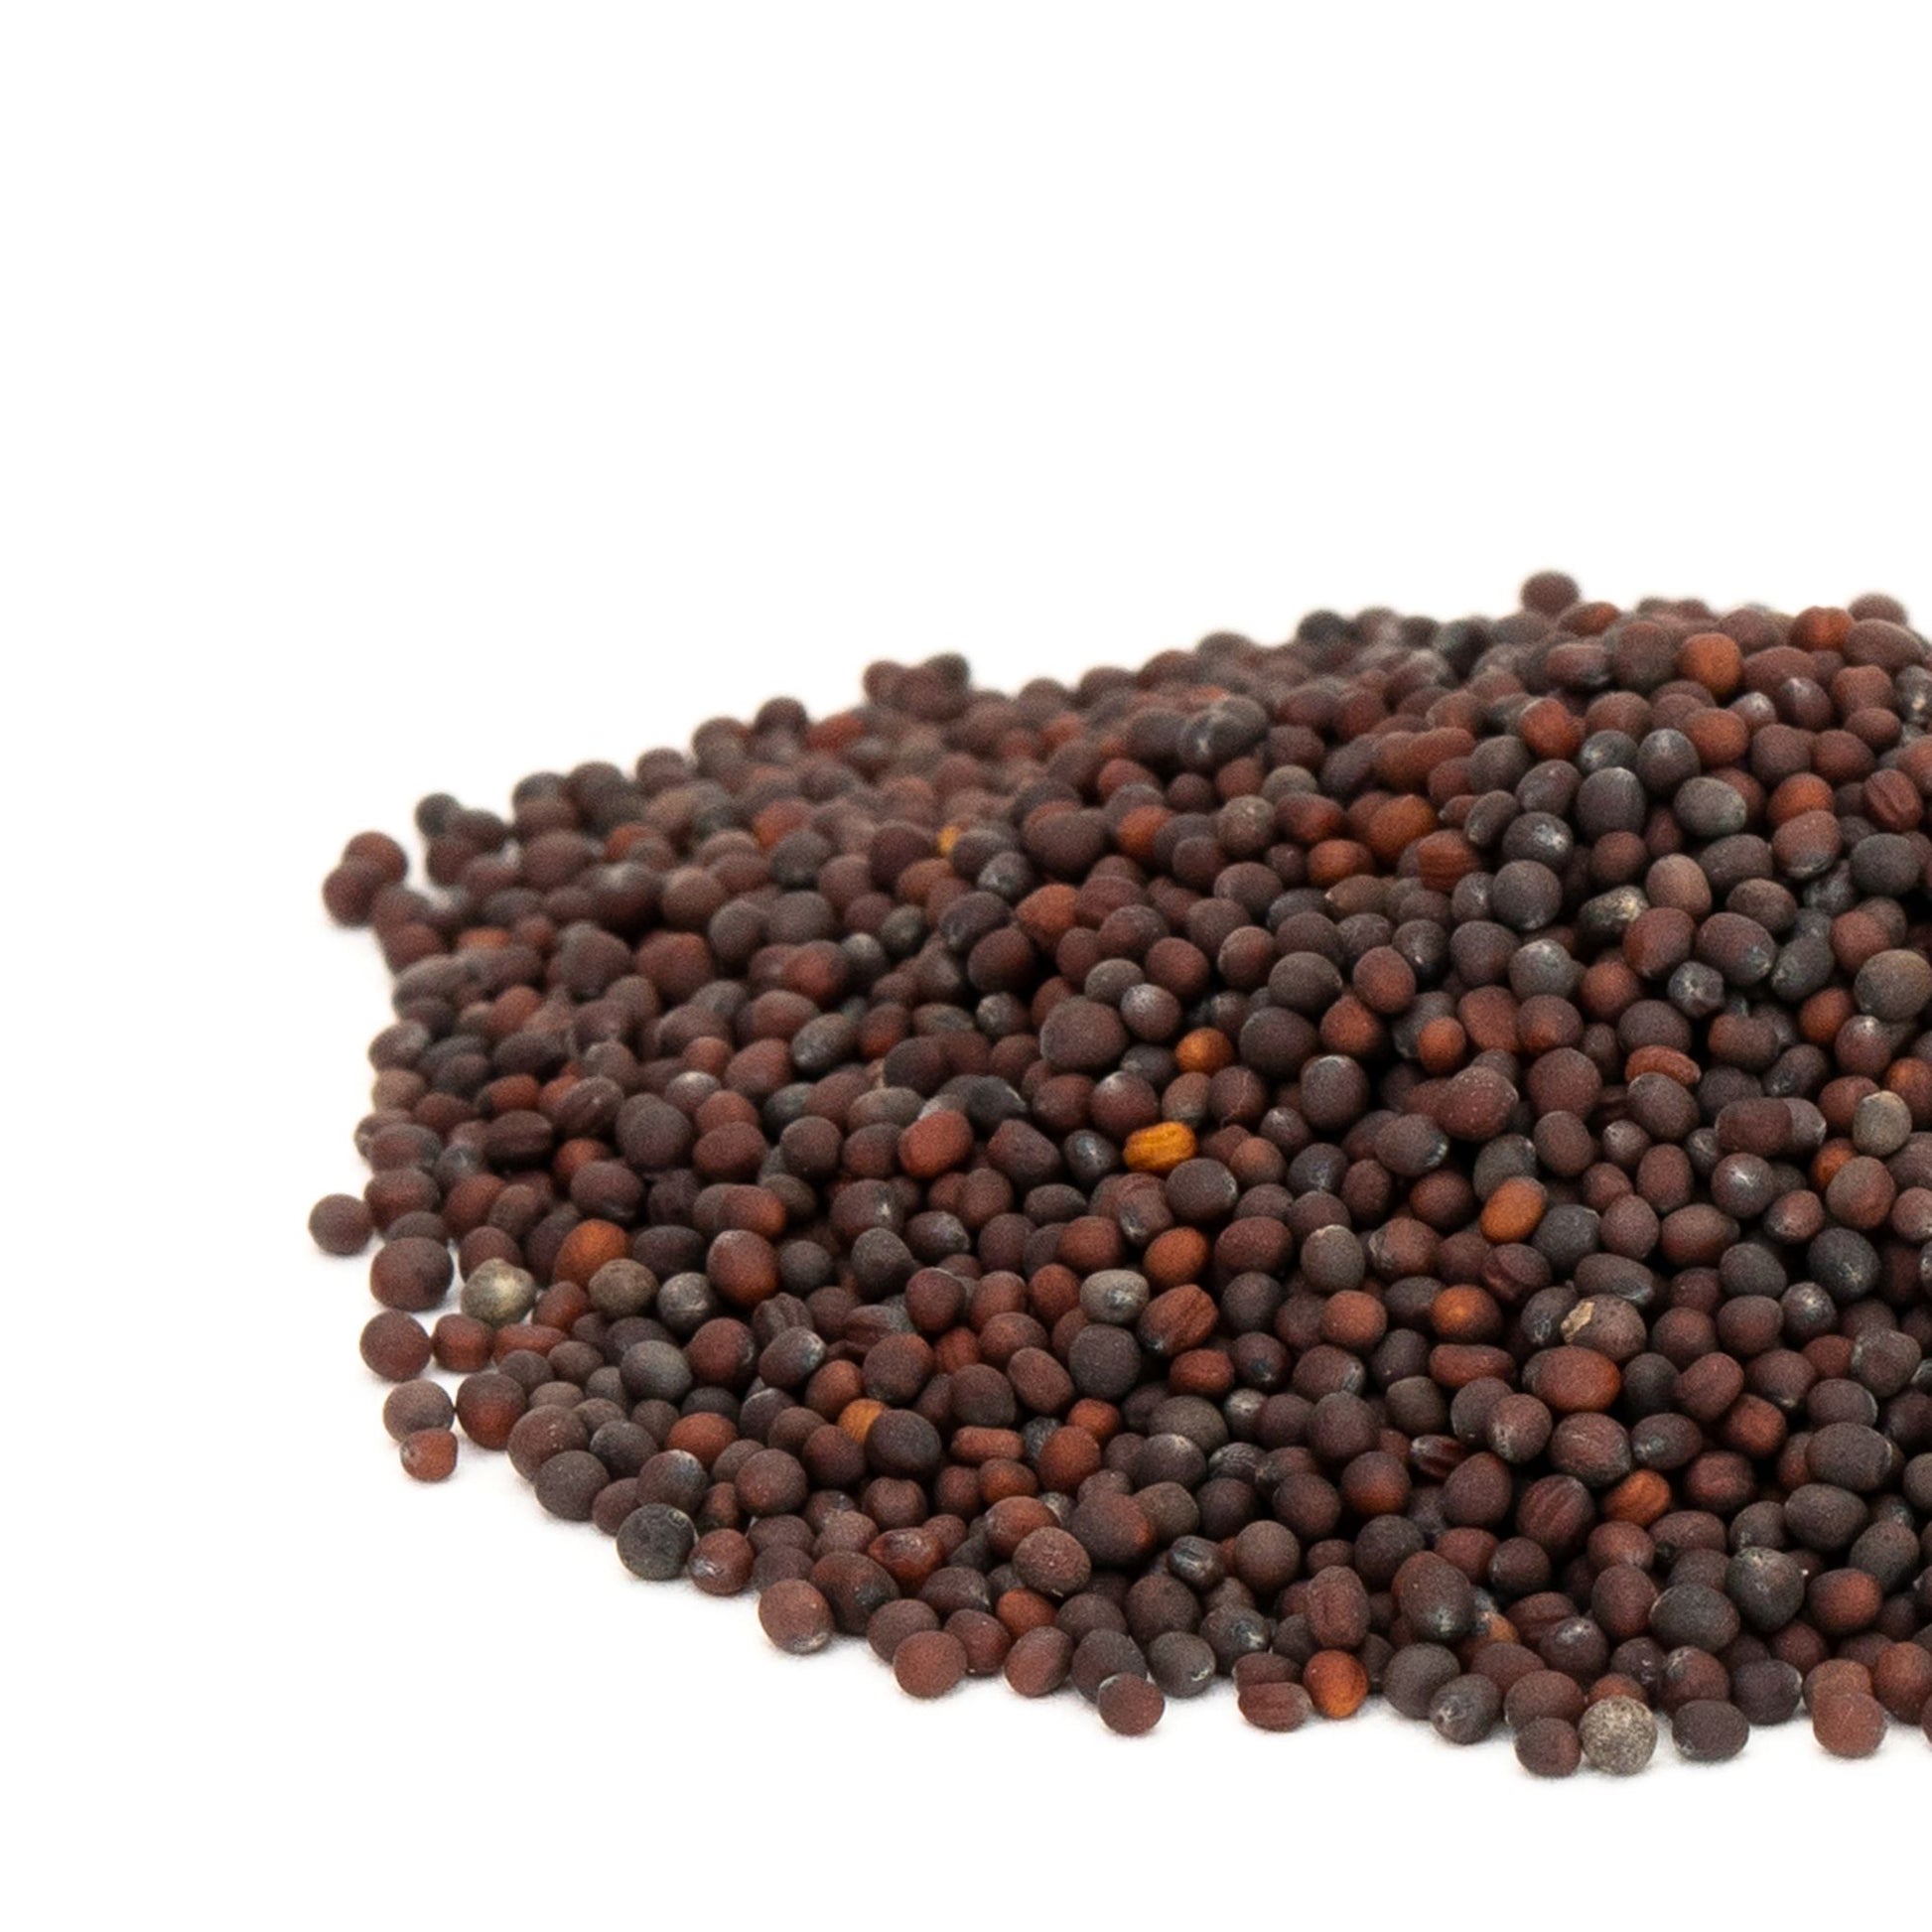
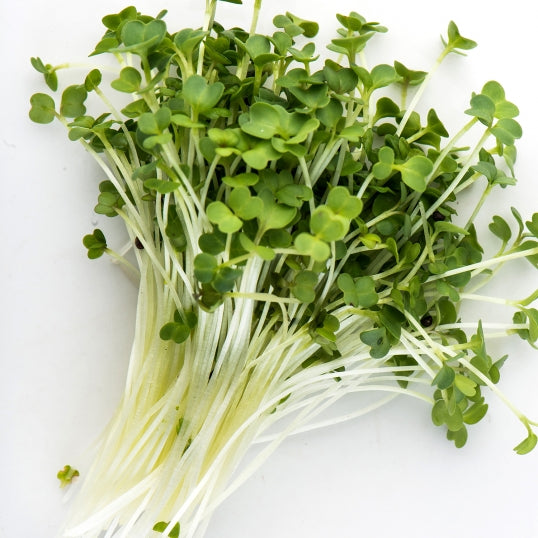
Broccoli Raab (Rapini)
Broccoli Raab (Rapini)
Couldn't load pickup availability
Broccoli Raab, or Rapini, is a tangy, fresh 4-day sprout that grows well in a jar or sprouting tray.
- Days to Sprout: Sprout- 4-5, Microgreen- 10-14
- Soak Time: 2-4 hours
- Yield: 1 tbsp of dry seed yields approx. 1-2 cups of sprouts.
- Storage: Our seeds should sprout well for a year after you purchase them, if stored in a cool dry place. If you'd like to extend the germination life of your seeds, store them in the fridge. If you store your seeds in the freezer, they'll last even longer!
Sprouting Directions
Soak: Put 1-2 Tbsp. seed in a wide mouth jar with a sprouting lid. Add water, swirl, and drain. Refill jar with water and soak 1-2 hours. (Soaking broccoli for longer than 2 hours can cause it to lose germination.) Drain well and invert jar at an angle on a sprouting rack, in a bowl or drain rack.
TIP: After draining, tap the jar gently to remove excess moisture. Rotate the jar and tap gently a few more times.
Rinse: Twice a day, refill jar with cold water, swirl, and drain well by tapping excess water from jar.
Enjoy! Ready to eat in 5 days. Refrigerate to store. (Sprouts store best when they are fairly dry.)
Growing Directions
Growing Directions
Sprouting Directions:
Soak: Put 1-2 Tbsp. seed in a wide mouth jar with a sprouting lid. Add water, swirl, and drain. Refill jar with water and soak 1-2 hours. (Soaking broccoli for longer than 2 hours can cause it to lose germination.) Drain well and invert jar at an angle on a sprouting rack, in a bowl or drain rack.
TIP: After draining, tap the jar gently to remove excess moisture. Rotate the jar and tap gently a few more times.
Rinse: Twice a day, refill jar with cold water, swirl, and drain well by tapping excess water from jar.
Enjoy! Ready to eat in 5 days. Refrigerate to store. (Sprouts store best when they are fairly dry.)
Helpful tips:
• Some sprouts tend to clump together as they grow. To separate, fill the jar with water, remove the screen and stir gently with a fork during the regular rinse. Remove hulls if desired. Drain well as usual.
• The drier they are the better sprouts keep. Be sure to let sprouts grow another half day after the final rinse before storing in the fridge. Optional: put folded paper towel on top of the sprouts in the jar. Put lid on and refrigerate turned upside down. This removes excess moisture.
•If your home is very warm during the summer months, it may help to rinse the sprouts three times a day with cold water. Stir gently if clumping.
•To remove the hulls and unsprouted seeds from leafy sprouts, pull sprouts out of the jar into a large bowl filled with water. Swish gently using fingers to separate the tangled roots. Most hulls will separate and rise or sink. Discard the hulls. Collect the sprouts back to the jar with or without aid of a strainer. Return the sprouting closure and drain so you can continue for half a day more of sprouting.
•Some brassicas (cabbage family) like radish and broccoli develop very fuzzy root hairs the longer you leave them undisturbed and these can be mistaken for mould. You will even see these after a few days of storage in the fridge. Stirring and rinsing removes the root hairs for a time.
Microgreen Directions (No Soil):
Soak. Using a tray with drainage holes, rinse enough seed to cover the bottom of the tray. Soak the seed for 1-2 hours. Use a jar with a sprouting lid for soaking if the tray holes are too large. Drain, rinse and drain holding at an angle to remove excess water. Spread the seed evenly on the bottom of the tray and cover with a lid top and bottom or put in plastic bag.
Rinse. Rinse with cold water twice a day, using either a gentle flow from a tap, dipping in a sink, or spraying. Drain thoroughly.
Grow. The roots will form a mat from which the microgreens will emerge. At that point, put in indirect sunlight, florescent/LED lights or grow lights. The watering is then easy: fill the container 1 cm deep with water and allow to sit for a few seconds in the water and then tilt on an angle to decant the water until only some moisture is remaining in the root area. Continue to rinse twice a day as described above.
Harvest!
Typically, microgreens grown without soil are harvested at 7-10 days. Harvest before the next expected rinse so the shoots are dry. Harvest before the next expected rinse so the shoots are dry. Harvest microgreens using scissors or knife.
Instead of harvesting all at once, you can start to harvest microgreens as soon as the first two leaves are spread out. Take only what you need for your meal and allow the rest to keep growing or put the tray in the fridge loosely covered and a plastic bag or dome to harvest another day.
Microgreen Directions (Soil):
You will need:
• 10” x 20” gardening trays (1-inch-tall preferred), 1 with
holes + 1 without. Smaller microgreen trays also work well.
• Good quality organic starting soil mix
• Parchment paper or unbleached paper towel (optional).
• Dome lids (clear or black) or plastic sheet
• Organic seed
• Mister bottle, cup measures, garden spray nozzle (optional)
• Scissors or sharp knife
1. Don’t soak small or medium size seed. Small seed such as broccoli and arugula are easier to sprinkle on top of the soil if they are not soaked.
2. Prepare Soil
Add water to top of the bag (or each tray) 12 hours ahead of use until almost fully hydrated. Rehydrate the bag as necessary. If you were to put the soil in your hand and squeeze it, you should not be able to get much more than a drop of water out of it for the perfect moisture content. If you want to mist the seed after putting it on the soil, reduce the water hydration of the bagged soil a bit.
TIP: To check for overwatering, tip the tray to one end. Water should not pool enough to drip out of the tray.
3. Fill Trays with Soil
Use a tray with holes. Fill with 3/4-1.5” of soil. The closer to the top of the tray the better aid to air circulation. Use a block or your hand to smooth and flatten the soil without compacting it. The back of a tablespoon or spatula smooths out the valleys. You can wait to put the tray without holes under until after unstacking/uncovering or add it to the bottom now.
TIP: Place a layer or two of paper towel on the bottom of the tray before adding soil for easier cleanup.
4. Sow the Seed
Sprinkle the seed evenly over the soil in the tray (pizza cheese shaker, spoon). The seeding density depends on the stage at which you’re planning to harvest. For small seeds for 1-week microgreens, start with approximately 15 -28 grams (1.5 - 2 Tbsp). Sow slightly less seed for 2-3 week microgreens.
Seeds do not need misting if the soil has enough moisture. Mist if you need more moisture. Use a spray bottle or a garden spray nozzle set to light mist. The soil should be moist throughout, but not soaking wet.
5. Cover the Seed
Doing away with soil as a seed cover decreases the work and time it takes to grow the greens. If stacking the trays on top of each other, use a cover directly on the seed like parchment paper, a plastic sheet or wet unbleached paper towel layer. When not stacking trays, the seed will need protection from drying out by using a dome/lid. Use a clear dome or an inverted 10 x 20” tray without holes. For smaller trays, use several layers of unbleached paper towels folded onto itself with or without a plastic sheet covering the top.
TIP: Most microgreens will grow taller when you keep the light out at the beginning, but this may make the stem weaker. Most seeds germinate in the light no problem.
6. Stack Trays or Cover with Lids
Stacking helps to quickly force the roots into the soil, provides darkness, promotes even germination/growth. Stack 2-5 filled trays on top of each other with an empty tray on the top of the stack with a weight in it. Check at least once a day to see if the trays need water. Cabbage family seed sprouts quickly, so stack for 2-3 days. Others stack 3-5 days.
If choosing not to stack, simply cover the trays with clear or black-out plastic, a lid or dome. Check at least once a day to see if the trays need water. Cover for the same number of days as above.
7. Expose to Indirect Sunlight, Florescent/LED or Grow Lights.
After 2-5 days, the microgreens should be ready for light. If the microgreens begin to get quite tall and leggy, this is an indication that they may need a bit more light.
8. Water the Growing Microgreens
Check the seed once or twice daily and water as needed. The soil should be moist, not wet. Once trays are unstacked, add water from below into the no holes tray as necessary.
9. Harvest!
Microgreens are harvested at 1-3 weeks with scissors or a sharp knife. Make sure microgreens are not damp before storing. If needed, you may use a small fan or salad spinner to dry the microgreens before storing in a sealed container in the fridge.
Instead of harvesting all at once, you can start to harvest microgreens as soon as the first two leaves are spread out. Take only what you need for your meal and allow the rest to keep growing or put the tray in the fridge loosely covered and a plastic bag or dome to harvest another day. Water as necessary.
10. Enjoy!
Microgreens make everything better, so have fun with them and add them to your favourite dishes!
Helpful tips:
• To moisten your bag of soil, add water ahead until almost fully hydrated.
• The roots grow under the soil so it works well to water from below if the tray has holes in it, or open the side of the tray and pour water beside the soil when using flexible plastic trays. Otherwise misting or watering from the top works well too.
Best Growing Methods
Best Growing Methods
Jar
Easy Sprouter
Did You Know
Did You Know
Broccoli Raab is not related closely to broccoli. It is however | closely related to turnips | which explains why the leaves look a lot like turnip greens. Broccoli Raab probably descends from a wild herb related to the turnip that grew either in China or the Mediterranean region. Broccoli Raab | also known as Rapini | is a common vegetable in the cuisines of Italy | Spain | and China.(Source: Whatscookingamerica.net)
Nutritional Information
Nutritional Information


Let's Grow Together
We care deeply about people and the planet. As a second-generation family business, we go the extra mile to make sure you have a great growing experience. That means sourcing top-quality organic seeds—many from small farms here in Saskatchewan—and testing every lot in-house to ensure strong germination, cleanliness, and vibrant results. We're here to help you grow with confidence, every step of the way.
I had made my friend some sour dough bread, she gave me some of her sprouts she made and I remembered I had some from Mumm's that I had bought years ago... I'm thinking 12 at least if not more. I was inspired as I had forgotten about them as my kids became teenagers. Well, I just sprouted my radishes and several others that are just wonderful crunchy and fresh. SO I just ordered a bunch of broccoli sprouts as I have been reading up on sulforaphane and all of the good health benefits for you. I love to support Canadian products, its organic and they taste amazing... I wish I could give you more starts for your product. Thank you. I am giving some away to my friend who is ill with cancer and for my daughter for her birthday who is into health as well. How fun to grow your own. Awesome!!!!!
While we love all the other seeds we got, the broccoli was extremely slow to sprout and with very low percentage of germination.
These seeds are super... They are very healthy, my sprouts are ready to eat in 5-7 days... I put them in my fridge and they have lasted for a week... though I’m trying to up my micro-green intake... life gets busy, but I was very pleased they were still quite fresh after a week... I was sure to store them after a good patting with paper towels to dry them. Thank you I’m very, very satisfied with your wonderful seeds.
I add this to a mix (alfalfa, clover, daikon, fenugreek, Crimson lentils) as I find that it's very strong tasting on its own. I like the mix I make, so why sprout seperatly (they're done at the same time). One batch was fine, but the next batch was rotting in spots and smelling bad by the time it was done. I was certain that it was due to the rapini, so for the next batch I added the rapini after the other seeds had finished soaking/rinsing. Now every batch is great!
Seeds sprouted quickly with high germination. I have done four sprouting so far and results excellent all times.Will buy again when I get low on seeds. Thank you for such good service.