Growing Directions:
Grow Microgreens! Soil Method
- 10” x 20” gardening trays (1-inch-tall preferred), 1 with
holes + 1 without. Smaller microgreen trays also work well.
- Good quality organic starting soil mix
- Parchment paper, coroplast, unbleached paper towel,
- Dome lids (clear or black) or plastic sheet
- Organic seed
- Soak Seed
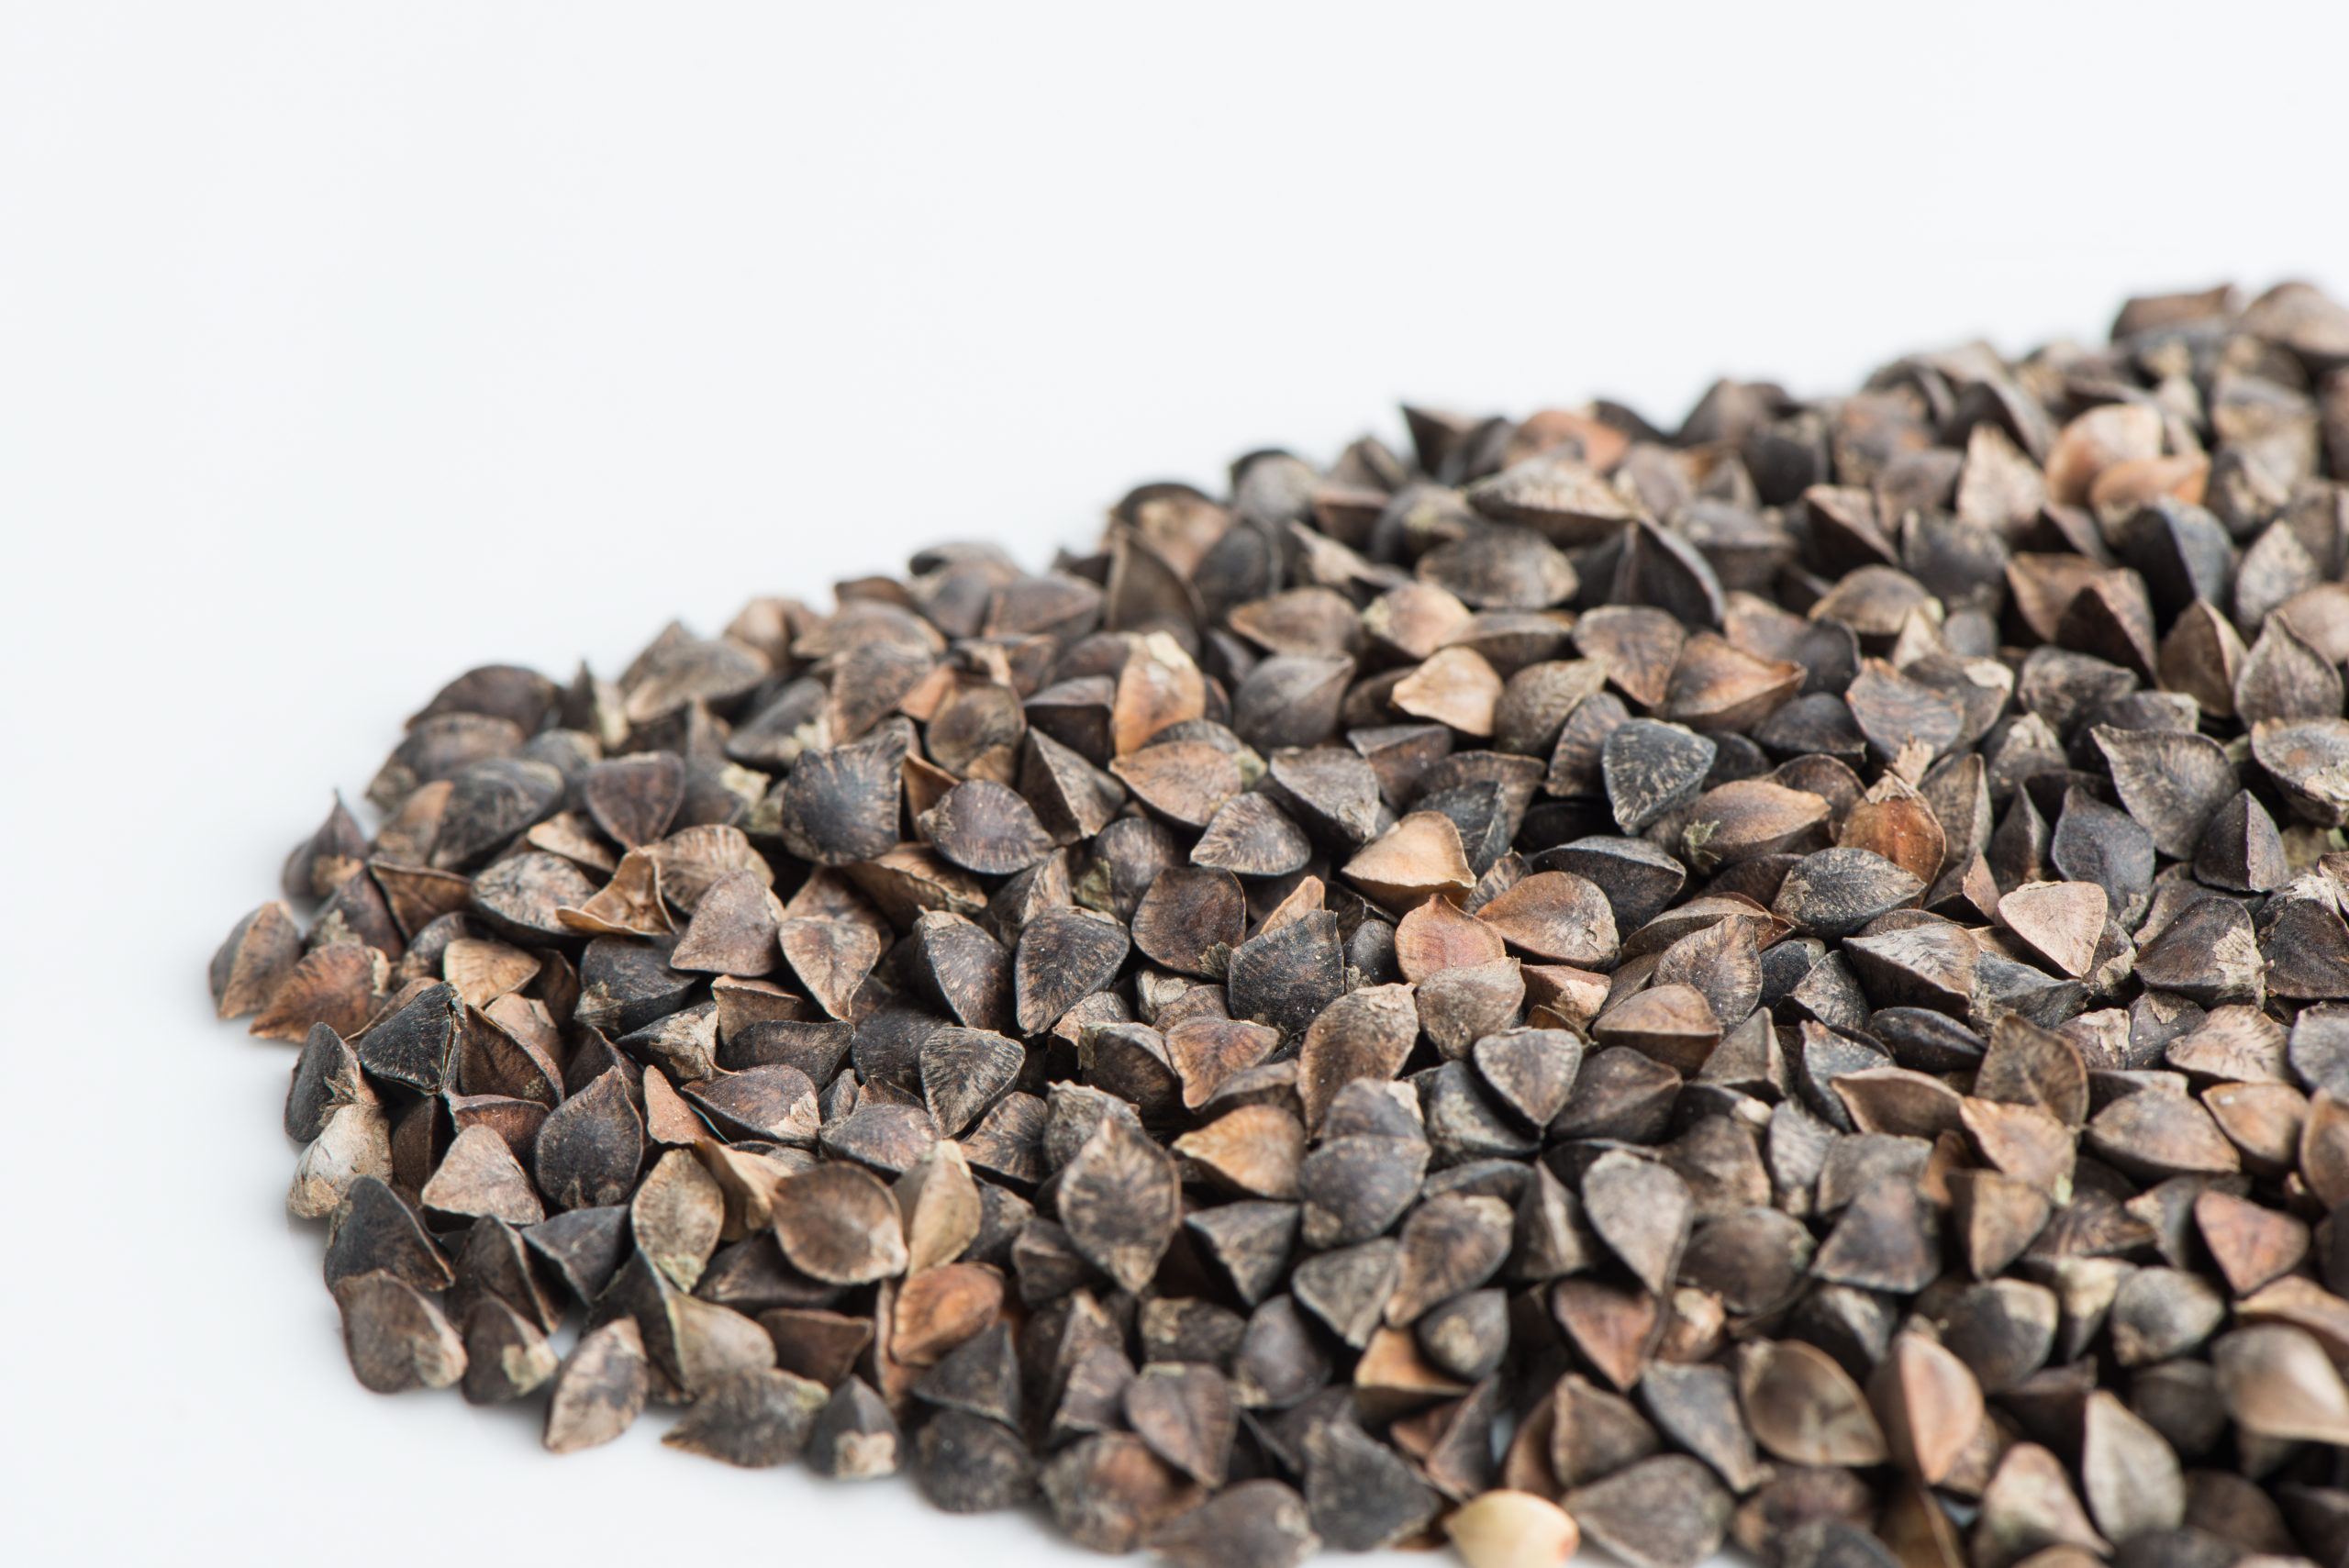
Buckwheat should be rinsed and soaked in water for 6 – 12 hours prior to seeding. Drain the seed after soaking.
2. Prepare Soil
Add water to top of the bag (or each tray) 12 hours ahead of use until almost fully hydrated. Rehydrate the bag as necessary. If you were to put the soil in your hand and squeeze it, you should not be able to get much more than a drop of water out of it for the perfect moisture content. If you want to mist the seed after putting it on the soil, back off the water hydration of the bagged soil a bit. TIP: To check for overwatering, tip the tray to one end. Water should not pool enough to drip out of the tray.
3. Fill Trays with Soil
Use a tray with holes. Fill with 3/4-1.5” of soil. The closer to the top of the tray the better aid to air circulation. Use a block or your hand to smooth and flatten the soil without compacting it. The back of a tablespoon or spatula smooths out the valleys. You can wait to put the tray without holes under until after unstacking/uncovering or add it to the bottom now.
TIP: Place a layer or two of paper towel on the bottom of the tray before adding soil for easier cleanup.
4. Sow the Seed
Sprinkle the seed evenly over the soil in the tray (pizza cheese shaker, spoon). The seeding density depends on the stage at which you’re planning to harvest. Large seeds should be seeded quite thickly (one thin layer with the seeds touching one another after the seeds have been soaked).
Seeds do not need misting if the soil has enough moisture. Mist if you need more moisture. Use a spray bottle or a garden spray nozzle set to light mist. The soil should be moist throughout, but not soaking wet.
5. Cover the Seed
Doing away with soil as a seed cover decreases the work and time it takes to grow the greens. If stacking the trays on top of each other, use a cover directly on the seed like parchment paper, a plastic sheet or wet unbleached paper towel layer. When not stacking trays, the seed will need protection from drying out by using a dome/lid. Use a clear dome or an inverted 10 x 20” tray without holes. For smaller trays, use several layers of unbleached paper towels folded onto itself with or without a plastic sheet covering the top. TIP: Most microgreens will grow taller when you keep the light out at the beginning, but this may make the stem weaker. Most seeds germinate in the light no problem.
6. Stack Trays or Cover with Lids
Stacking helps to quickly force the roots into the soil, provides darkness, promotes even germination/growth. Stack 2-5 trays on top of each other with an empty tray on the top of the stack with a weight on it. Check at least once a day to see if the trays need water. Small seed stack for 2-3 days.
If choosing not to stack, simply cover the trays with clear or black-out plastic, a lid or dome. Check at least once a day to see if the trays need water. Cover for the same number of days as above.
7. Expose to Indirect Sunlight
After 2-5 days, the microgreens should be ready for indirect sunlight. Be careful not to expose the plants to direct, hot sunlight as this can damage the delicate microgreens. Another option is to use florescent or grow lights. If the microgreens begin to get quite tall and leggy, this is an indication that they may need a bit more light.
8. Water the Germinating Seed
Check the seed once or twice daily and water as needed. The soil should be moist, not wet.
9. Harvest!
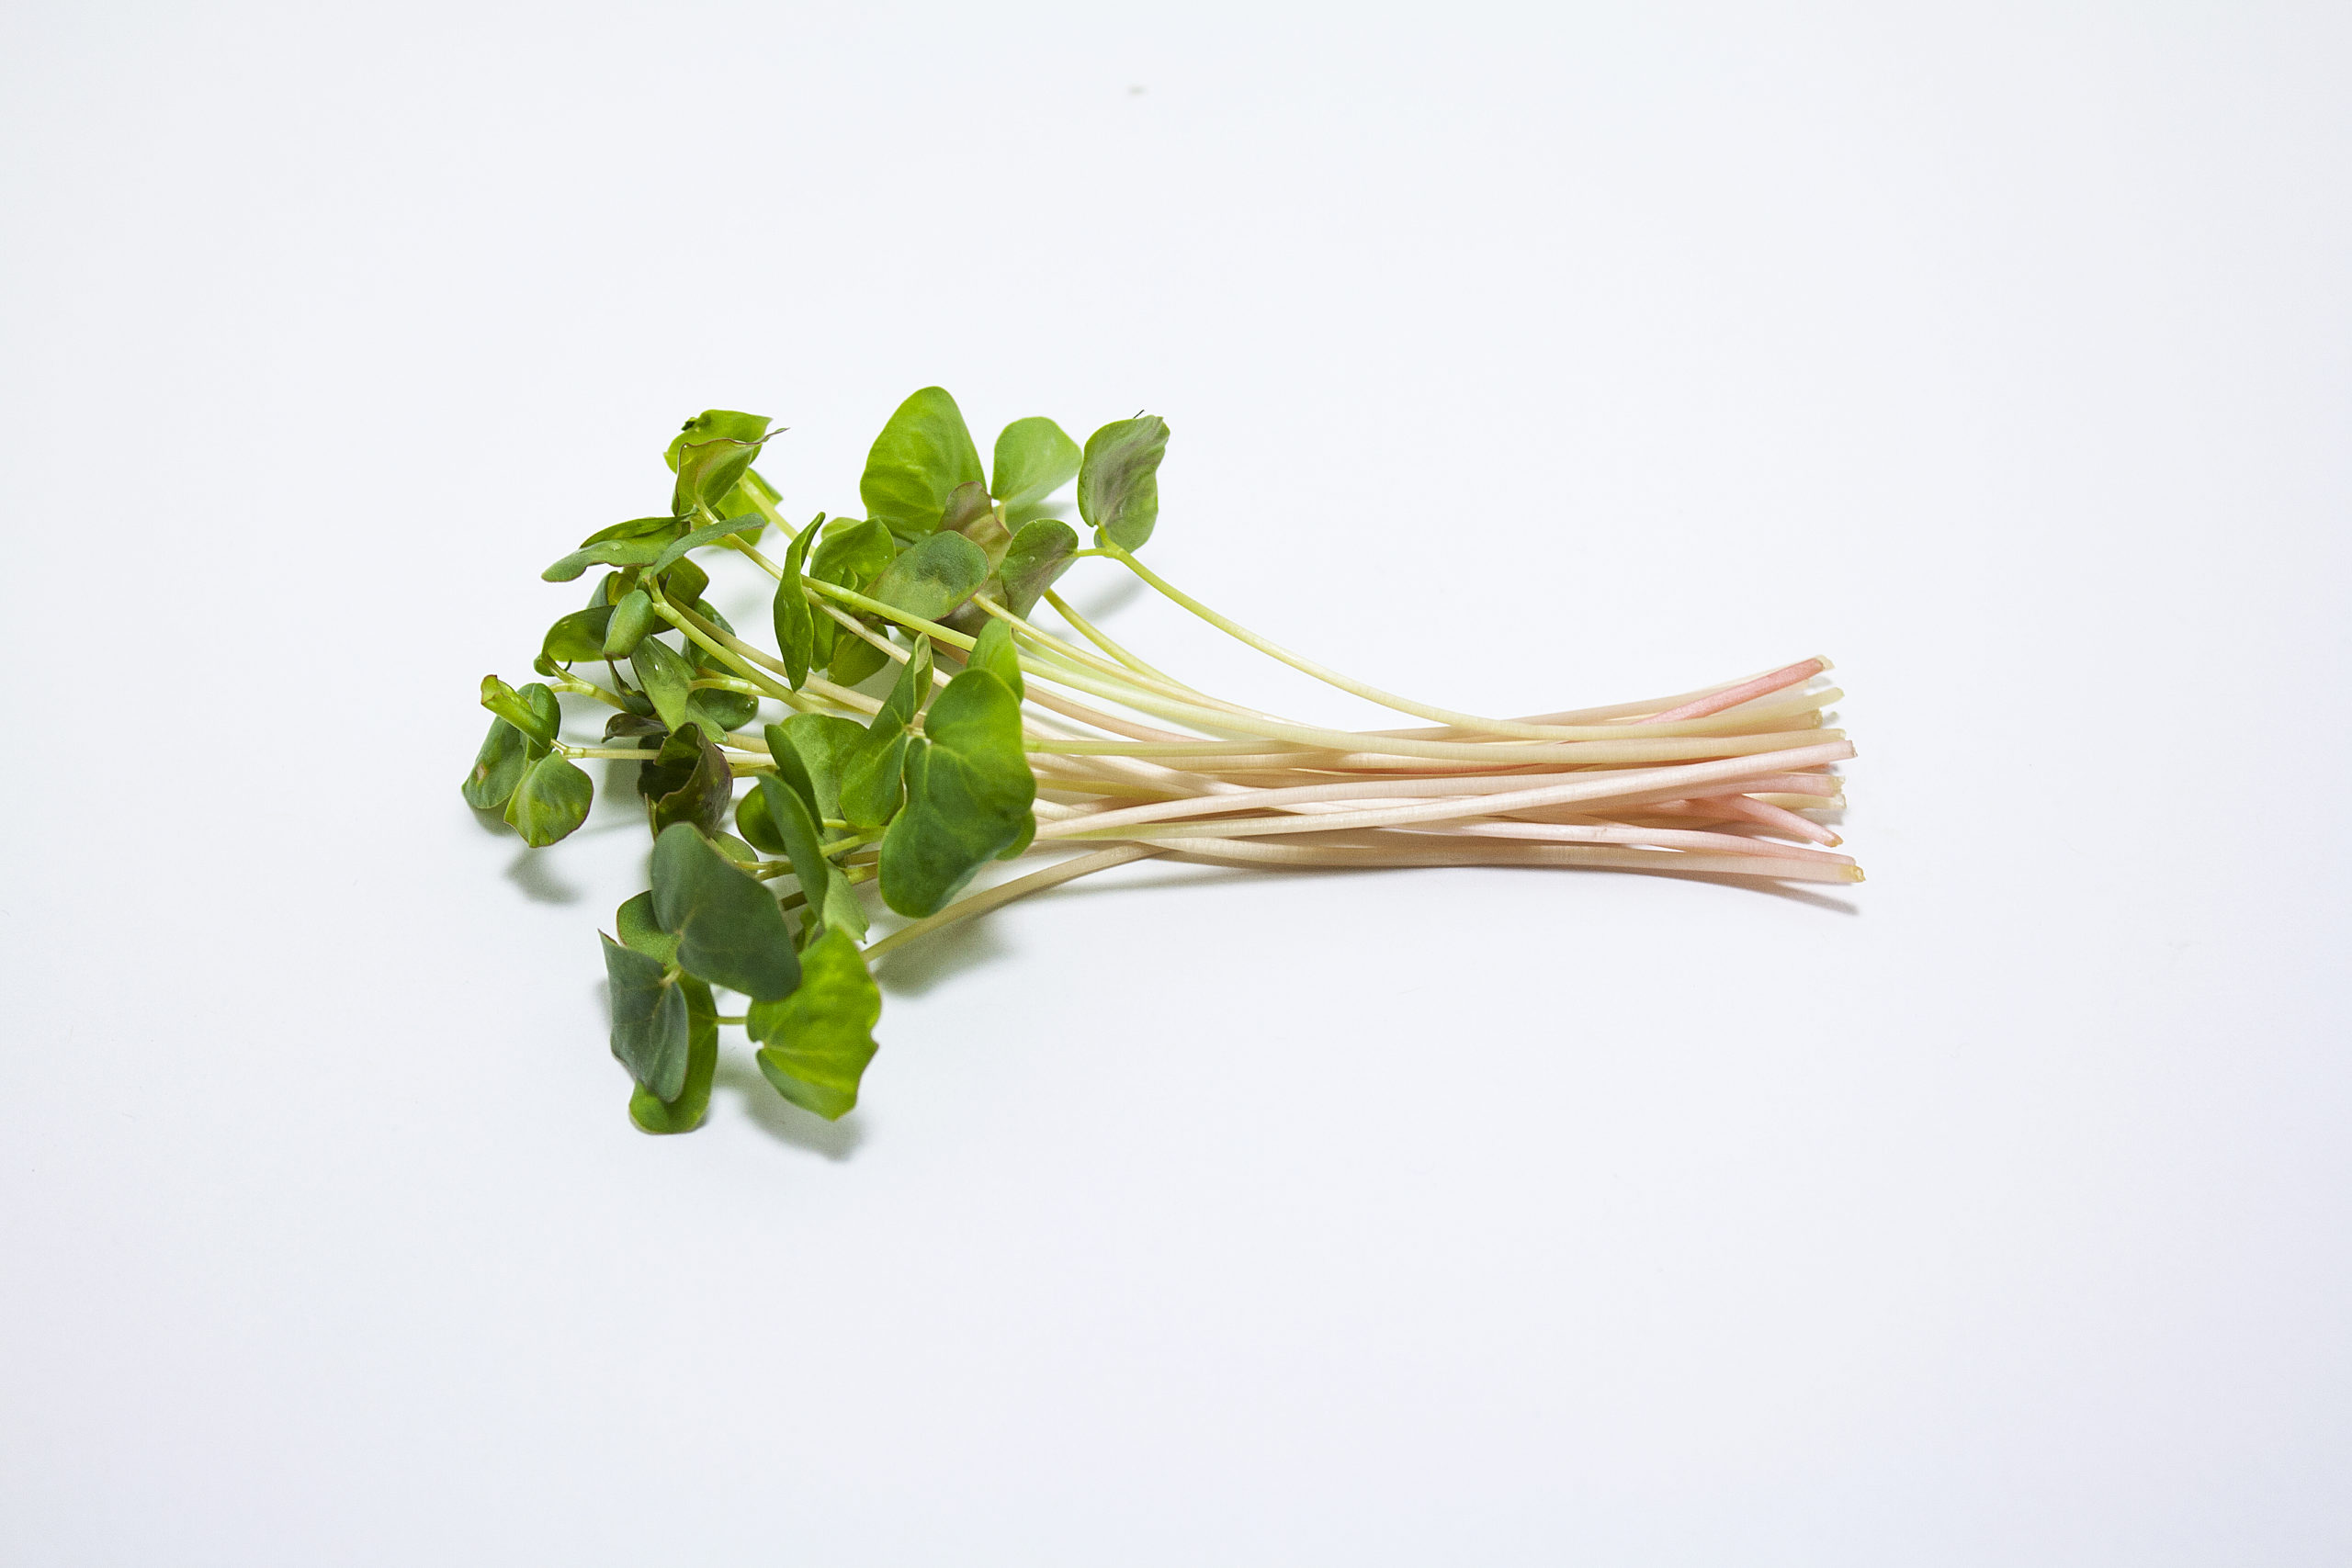
Microgreens are harvested at 1-3 weeks with scissors or a sharp knife. Make sure microgreens are not damp before storing. If needed, you may use a small fan or salad spinner to dry the microgreens before storing in a sealed container in the fridge.
Instead of harvesting all at once, you can start to harvest my microgreens as soon as the first two leaves are spread out. Take only what you need for your meal and allow the rest to keep growing or put the tray in the fridge loosely covered and a plastic bag or dome to harvest another day.
10. Enjoy!
Microgreens make everything better, so have fun with them and add them to your favourite dishes!
Helpful tips:
- To moisten your bag of soil, add water ahead until almost fully hydrated.
- The roots grow under the soil so it works well to water from below if the tray has holes in it, or open the side of the tray and pour water beside the soil when using flexible plastic trays. Otherwise misting or watering from the top works well too.
- To get the hulls to drop from sunflower, beet, chard and buckwheat leaves cover the tray loosely with clear plastic during the last days of growth. Mist the hulls. This will trap enough moisture to soften the hulls to be easily brushed off by hand.
1 kg


There are no reviews yet.